Friday Inspiration: Brooke Shaden

Brooke Shaden

Often as a beginning photographer you will hear the admonishment, ‘get it right in camera’, this is good advice when your starting out. It provides a restriction, a box to work in, and edges to push up against. It forces you to think about what is the subject, how do you frame the subject so that everyone knows what the subject it, are there lines that you can use to lead the eye through the image and on an on. A multitude of decisions to make on the fly that with practice become second nature, an instinct and perhaps one of the reasons that it can be so hard for some to teach what they are clearly so capable of doing.

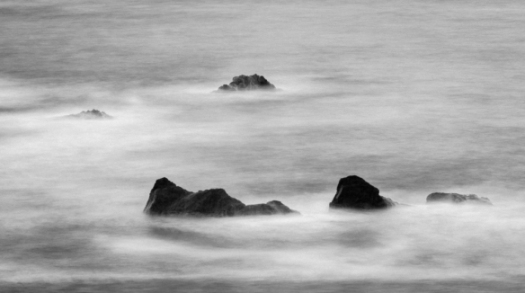
I find that I am increasingly less interested in getting it right in camera and more interested in making sure that I’ve captured enough of the scene in front of me to be able to recreate what I felt when I was there. I’ll shoot different shutter speeds to capture waves with just the right amount of blur, I’ll focus at different points in the image so that I can get good front to back depth of field and I’ll shoot a lot of frames. I’ve actually been doing this for a while and it’s taking some time for my post-processing skills to catch up with what I’d felt and imagined I would be able to create when I was stood in various places around the world blasting away.

In looking around at people who were pushing the envelope with regards to creating images Brooke Shaden’s work caught my eye early on, initially through her book ‘Inspiration in Photography: Training your mind to make great art a habit’ and through her CreativeLive Class ‘Fine Art Portraits‘.

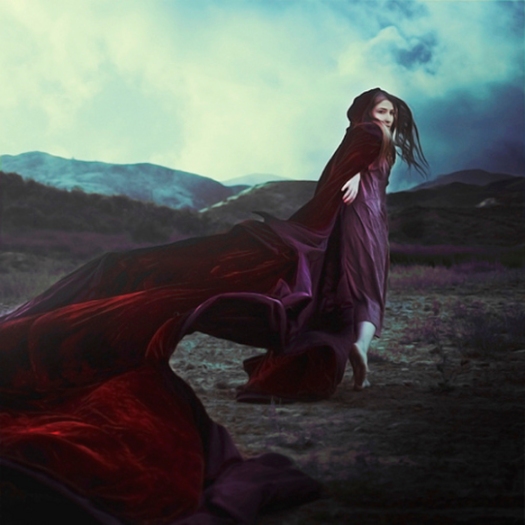
Brooke creates worlds that ‘she wishes we could live in, where secrets float out in the open, where the impossible becomes possible’, often using herself as the model for the photograph. She is able to create these new worlds using relatively simple techniques in photoshop.

Looking at some of the behind the scenes videos on her You Tube channel made me realize how much you could do if you just understood just a few of the tools in photoshop deeply. Watch Brooke in action and hear her talk about her work and process in the videos below.
Practicing at Practicing

Nixon_130515_4122-Edit

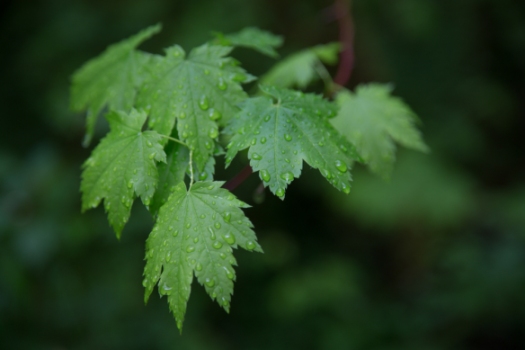
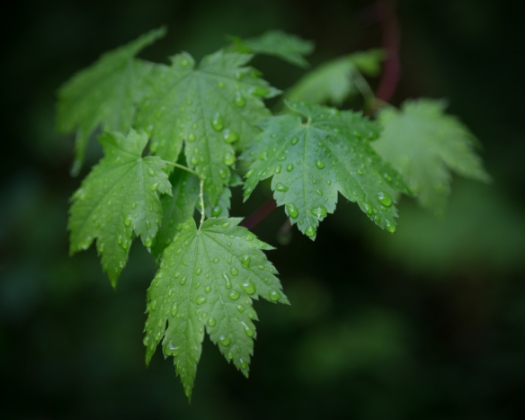
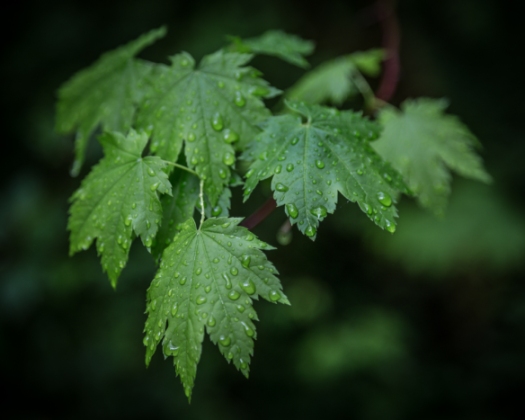
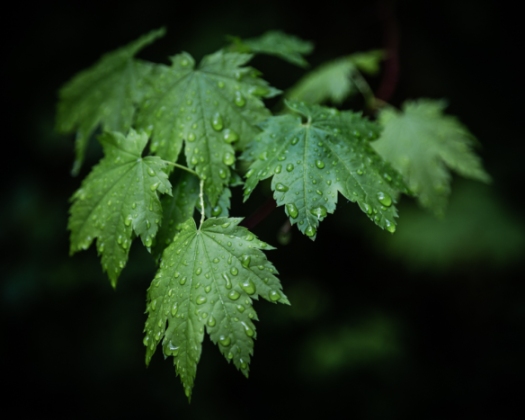
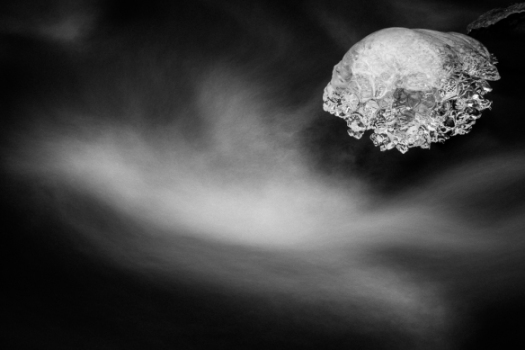
I recently upgraded my copies of Lightroom and Photoshop which of course brought with it the headache of making sure that all the plug-ins that I have for both programs were installed and working properly. In photoshop my plugins are ‘grayed out’ and unavailable to be fired up unless you have a photo open. So to solve that problem I opened one of the leaf pictures that I had intended on working on but hadn’t gotten around to it. I opened the leaf image and started OnOne Software’s “Perfect B&W’ plugin. I tried some of my favorite black and white presets. There are lots panels with lots of sliders that you can use to further tweak the image. One panel that I wasn’t familiar with was the ‘blending’ and so I spent some time playing with the various options and was surprised and pleased to discover that using the overlay mode gave me the image above. I liked it so much more than the image I started with which is below.

Nixon_130515_4122-2

Could I have gotten there with just Lightroom or Lightroom and Photoshop? Maybe… I realized that the image out of the OnOne plug in had a vignette (easy to do in Lightroom), and was a bit crunchy – had either a lot of contrast or clarity or a combination of the two added.

Adding a vignette was easy – I generally use ‘Post-Crop Vignetting’ and dialed in -33 using the highlight priority option in LR5.

Leaves_Vignette

Cruchiness wasn’t so easy. I thought that clarity would give the effect that I was looking for. Ramping clarity up to 100% gives the crunchiness I was looking for but there’s still something missing.

Leaves_Clarity

Adding a strong constrast curve gets us closer but the image is too green.

Leaves_Contrast

Finally desaturating a little using both saturation in the Presence panel and also the green slide in the HSL panel gives the image below.

Leaves_Desat

A vast improvement over the original and I like it better than my target image. I found this to be a useful exercise in exploring the power of Lightroom which I’m sure will come in useful.

Playing with Presets Redux: Black & White Preset Download

Nixon_130517_5888

When I originally wrote about using presets to explore the potential in my images I had intended on providing the final black and white preset that I made as a downloadable file. Unfortunately I couldn’t quite figure out how to do it. Should be easy enough right?

I continued to use the preset and have used it on all of my black and white images that I’ve posted here over the last few weeks, including the one above. Then finally I figured out how to provide the file.

Click here to download the preset and instructions on how to install it.

Installation of the preset is quite easy:

1. Open Lightroom

2. Navigate to the ‘Develop’ module

3. Find ‘User Presets’ in the presets panel on the left hand side.

4. Right click or control click on ‘User Presets’ to open a menu.

5. The menu has 2 options – New Folder and Import. Click import.

6. A file browser will open that will allow you to navigate to the preset you downloaded. Click on the preset you wish to import and then click ‘Import’.

7. That’s it! The preset should now be loaded into the ‘User Presets’ section of the Lightroom develop module.

To use the preset is easy enough. Select the image you want to work with, open the develop module (I usually just hit the ‘d’ key), under the user presets click on the B&W Preset. Done!

Of course sometimes you might be done, other times you might want to work the image a little more. The most common additional edits that I do are: apply lens correction, change the vignette – which is found under the effects panel on the right hand side, and to change the grain characteristics – also found under the effects panel.

You might want to do other things but I hope that this serves as a solid jumping off point. Let me know if you like this, how you’re using it, what works, what doesn’t. I’d appreciate the feedback.

Playing Around with Presets

Nixon_130208_0409-8

Rare are the days when the photograph that pops up in lightroom is close to what I had imagined it should look like and a few tweaks and I’m done. More common are the times where I have some playing to do in lightroom and then photoshop but I know where I’m heading and then there are those images that I just wonder what I was thinking. Believe it or not, the image above started out in this last category.

The image out of the camera is shown below.

Nixon_130208_0409

After a few moments of not really knowing what to do with it I started clicking through the presets built into the develop module. I haven’t been a big fan of presets preferring to know exactly what slider I was changing and why. Clicking around though it quickly became apparent that this photo should be black and white. The five built in presets gave the following ‘looks’.

Nixon_130208_0409-2 Nixon_130208_0409-3
Look 1 Look 2
Nixon_130208_0409-4 Nixon_130208_0409-5
Look 3 Look 4
Nixon_130208_0409-6
Look 5

I liked looks 2 and 3, with not a lot to choose between them for me. I chose version 3 as a starting point and made it a little darker and a little grainer. The image below was the result.

Nixon_130208_0409-7

A little bit more clean up and I was done. I must admit that this experience changed my outlook on presets. They’re great starting points, to be pushed further or dialed back, and invaluable to get a quick sense of what different processing could do to your image. Even better if you make your own and share with friends.

Nixon_130208_0409-8

There Are Images Everywhere – The Art of Seeing

20111129-164218.jpg

There are images everywhere. No really there are.

Regardless of whether you live in an area that people would travel to because of it’s natural beauty, or whether you live in an area that people feel they need to leave to experience natural beauty there are images to be made. The skill that we need to learn is to see them. This is something that takes practice. Freeman Patterson’s book ‘Photography and the Art of Seeing‘ is a great place to start. A new edition just came out – it’s exceptional and should find a home on every photographer’s shelf.

Learning to see the possibilities around you means carrying a camera around with you and using it every day. For me there are days when that’s not an issue at all and then those other days when I’m running to stay in one place, not so easy. But I keep trying.

I’m finding with the iPhone that I enjoy the exploration of image after taking it, at least as much as taking it in the first place. The image above was taken while I was waiting for my son to be released from school the other day. I played with it in photoforge and phototoaster.

Contrast Masks: An Initial Foray

The more I photograph the more I become aware of what I want to achieve with a particular photograph. Often when a photograph fails to wow me it’s not because I didn’t get the composition right but rather it is because it doesn’t leap of the page in the way that I think it should. My big struggle has been that I couldn’t quite put my finger on what the problem is it not sharp enough, not saturated enough not enough contrast. What?

I’ve never been much of a student of history but I do enjoy understanding how other people work and what tools they use. Watching the Christopher Burkett video I posted recently there was the mention of his use of contrast masks and the impact these have on his images. So why not give that a go?

Using ‘The Google’ I found this tutorial on the use of digital contrast masks on the luminous landscape website. Just following the tutorial as described I was able to take the image from last week from this:

to this:

Which with some final tweaks becomes this:


What do you think? Seems like an improvement to me.

If something’s worth doing it’s worth doing to excess. I’ve subsequently tried this technique out on 20 or so images with varying degrees of success. The contrast mask, not too surprisingly, reduces contrast which may not be the appropriate fix for all of my images. I’m starting to have a sense of where this technique will work for my photographs, generally for images that I take within 10 – 15 mins of sunrise and will try this out before I do any heavy lifting in photoshop. Try it out for yourself and let me know how things turn out.