There Are Images Everywhere – The Art of Seeing

20111129-164218.jpg

There are images everywhere. No really there are.

Regardless of whether you live in an area that people would travel to because of it’s natural beauty, or whether you live in an area that people feel they need to leave to experience natural beauty there are images to be made. The skill that we need to learn is to see them. This is something that takes practice. Freeman Patterson’s book ‘Photography and the Art of Seeing‘ is a great place to start. A new edition just came out – it’s exceptional and should find a home on every photographer’s shelf.

Learning to see the possibilities around you means carrying a camera around with you and using it every day. For me there are days when that’s not an issue at all and then those other days when I’m running to stay in one place, not so easy. But I keep trying.

I’m finding with the iPhone that I enjoy the exploration of image after taking it, at least as much as taking it in the first place. The image above was taken while I was waiting for my son to be released from school the other day. I played with it in photoforge and phototoaster.

A Line in the Sand

I recently signed up for the Fitts & Wolinsky portfolio review at the South Shore Art Center in early January.

With the review event as a deadline, I’m now working though my archives for a set of photographs that hang together as a cohesive set. I think that I have a reasonable nucleus of images that would work and I’m considering including the one above in the group. I believe that this was taken on the morning that I ended up in the water with my camera. As is the case with many of the photographs that I ultimately end up liking, this was a throw away shot. Not something that I tried hard for or thought too much about. I saw the wave, thought it was pretty interesting and made the photo. It took me longer to type that last sentence than it did to go through the process. I like the motion blur that I got in this image and also that the horizon is ambiguous.

I’d be interested in hearing what you have to say about it too.

Contrast Masks: An Initial Foray

The more I photograph the more I become aware of what I want to achieve with a particular photograph. Often when a photograph fails to wow me it’s not because I didn’t get the composition right but rather it is because it doesn’t leap of the page in the way that I think it should. My big struggle has been that I couldn’t quite put my finger on what the problem is it not sharp enough, not saturated enough not enough contrast. What?

I’ve never been much of a student of history but I do enjoy understanding how other people work and what tools they use. Watching the Christopher Burkett video I posted recently there was the mention of his use of contrast masks and the impact these have on his images. So why not give that a go?

Using ‘The Google’ I found this tutorial on the use of digital contrast masks on the luminous landscape website. Just following the tutorial as described I was able to take the image from last week from this:

to this:

Which with some final tweaks becomes this:


What do you think? Seems like an improvement to me.

If something’s worth doing it’s worth doing to excess. I’ve subsequently tried this technique out on 20 or so images with varying degrees of success. The contrast mask, not too surprisingly, reduces contrast which may not be the appropriate fix for all of my images. I’m starting to have a sense of where this technique will work for my photographs, generally for images that I take within 10 – 15 mins of sunrise and will try this out before I do any heavy lifting in photoshop. Try it out for yourself and let me know how things turn out.

iPhone Lomography – My Current Workflow

As I’ve mentioned before here, I’m having a blast working with the camera on my iPhone, largely pushing into territory I had previously thought was not for me. One of the presets that gives an effect that I like is ‘Lomo’ in the app Phototoaster. Not being a student of history it took me a while to realise that ‘Lomo’ actually refers to a camera, the Lomo LC-A, that has somewhat of a cult following. Characteristic photos from the Lomo LC-A have effects caused by light leaks, strong vignettes and rich, saturated colors. Often lomographers will shoot with slide film and cross-process to give strong color shifts. Take a dip into the Lomography photostream here.

While I mull over the purchase of an LC-A+ I’m going to continue playing with my iPhone. Read on to see how easy it is with the iPhone.

I am typically using Camera+ rather than the camera app that comes with the iPhone. Here is the image as shot. Lots of problems with this, my biggest criticism is that I should have been closer to crop out the sky and the trailer. You can zoom with Camera+ but be aware that it is a digital zoom – in effect you’re just using less of the sensor. If I have to crop I’d prefer to do it in software after the fact. I’ll admit that I think cropping is not a big deal particularly with my DLSR but is an issue with the small files that come from the iPhone, so try to get it right in ‘iPhone’ as it were.

The first step is to bring the file into PhotoForge and do some preliminary editing. Photoforge is a great app with lots of capabilities, curves, sharpening, cropping, textures, frames and effects and is one that I highly recommend. One of the neat things is that Photoforge has layers so you can work in a layer based manner if that is something that you’re used to. I generally am not using layers but I’m also just doing very simple edits. I will generally look at the levels panel and tweak there if I think the image needs it. In this case it didn’t a levels adjustment and so I moved on to add a bit of contrast using the curves function. I didn’t like any of the other tweaks that I might usually add and so I saved the file back to the photolibrary and jumped into Phototoaster.

I’m almost exclusively using Phototoaster now to add the Lomo effect. There is a Lomo effect in PhotoForge but it feels a bit washed out for my taste. I cropped the image to a square to remove the distractions and applied the Lomo effect which can be found …

I like the square but also wanted to see what else I could do. Here I didn’t lock the crop to a particular ratio and came up with this crop that I particularly liked and as before then added the Lomo effect.

Paying Attention to What Has Your Attention

“If you don’t pay appropriate attention to what has your attention, it will take more of your attention than it deserves.”

David AllenGetting Things Done: The Art of Stress-Free Productivity

I love the quote above from David Allen, the productivity guru most well known for Getting Things Done or the ‘GTD System’. It’s so right, on so many levels. Ignore the things that you should be doing and they will demand your attention, even if only to stop you from sleeping because you’re thinking about those issues as you try to nod off.

It was this David Allen quote that I was mindful of when I was away in Martha’s Vineyard a week or so ago but really in a very different way.  I do find it difficult to photograph if I’m not fully present and this can take some time to get to if there’s all kinds of other stuff unrelated to the scene in front of me that I’m thinking about.  Fortunately I have no problem quieting everything else to focus on what’s in front of me, although it can take 15 – 20 mins and a couple of hundred frames to get into the zone.

What I am aware of though, is that I can be so intently focused on the scene that I have framed that I frequently ignore the moments when my intuition tells me there’s a great photograph to be had. This could be paying attention to some stuff that I would consider to be a little weird – such as the image of the shells and seaweed above – and would normally walk by, simply reframing from the position that I’m already in or could involve a bit of a wander to get to a place where the light is doing interesting things.

How clear what the photograph is also varies – it can be crystal clear or could take a bit of work to get there. The work usually typically involves simplifying the image so that it has just the elements critical for whatever caught my eye, whether it was interesting light, a vivid color or something odd happening such as how the waves came together in the image below.

I feel that some of my better photographs have been in response to listening to my intuition and so, as is the case in many aspects of life, paying attention to what has your attention is equally applicable to photography and is a work in progress for me.

Alison Shaw Workshop: Thoughts & Comments

I’m just back from a week on Martha’s Vineyard to attend Alison Shaw’s workshop. It was a really fun week, great to catch up with old friends and make some new ones and to immerse myself in photography.

Like most of life, you get out of a week long workshop what you put into it. That means being at the location an hour before sunrise and staying at the evening locations until well after the sun has gone down. That makes for some very long days, especially if you try to edit photos when you get home in the evening. By mid-week everyone is a little punchy, filters are gone and everyone is in the groove.

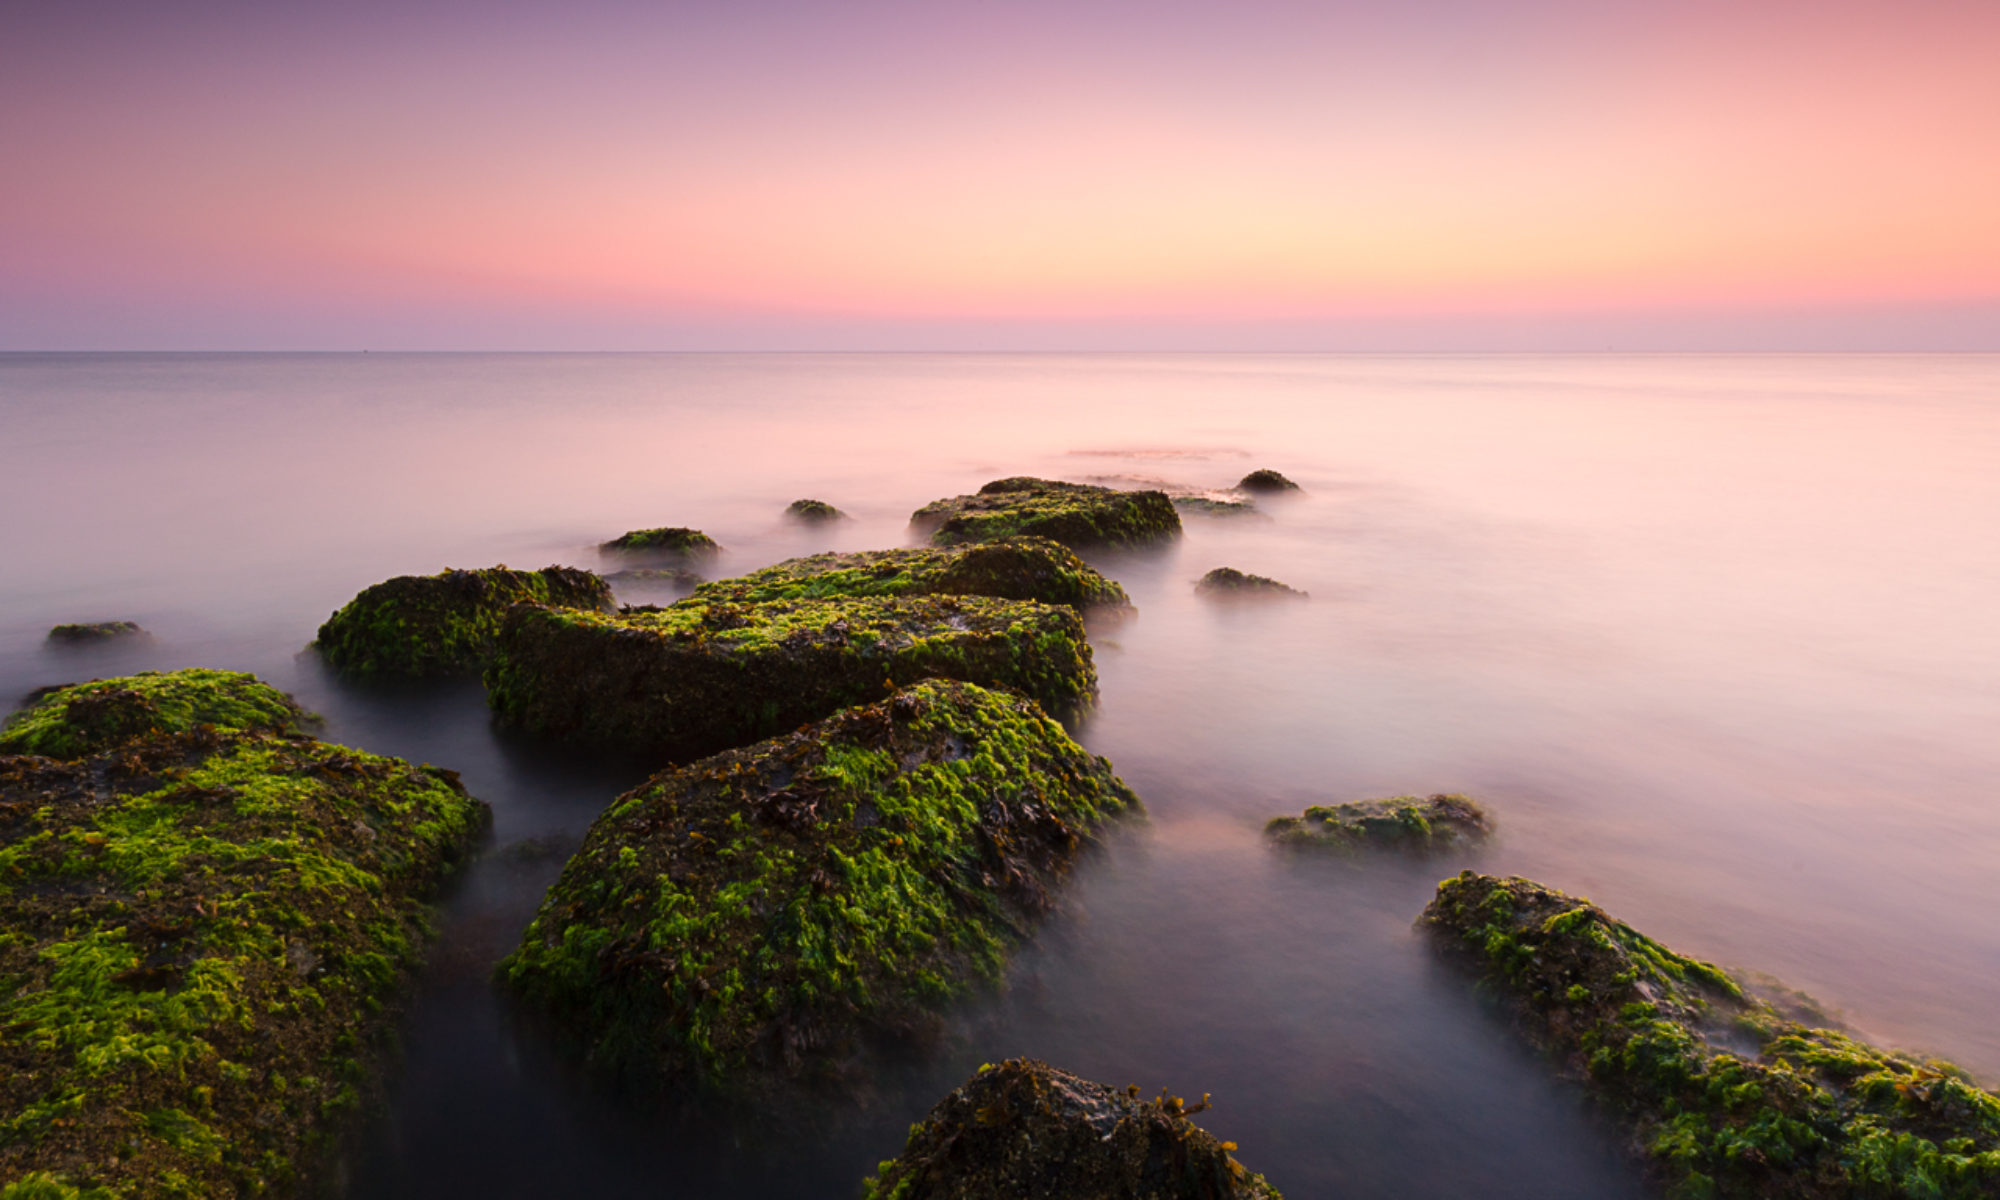
This was the second time I’d visited Martha’s Vineyard, the first time was for Alison’s workshop last year. As a consequence the novelty factor is still very high for me even with places that most people are very familiar with such as Edgartown or Menemsha. While we went to some of my favorite spots, Lucy Vincent Beach and Vineyard Haven Harbor being high on that list, there were a few new places included in this workshop. We made it over to Chappaquiddick and after a stop at Mytoi, the Japanese garden, we headed for East Beach. While East Beach does not have the spectacular surf that Lucy Vincent Beach has there were enough photo opportunities to make the trip well worthwhile. One of the things that I appreciate about the locations that we visit is that they are rich with photographic opportunities, so even someone like me is able to come up with 3, 4 or more different photographs at each location.

Alison has an easy going nature and teaching style that she is able to adapt to the level of the student. While I could imagine some workshops being all about the instructor leading them, that’s not the case here. You get as much help as you need. While there is plenty of in the field instruction from Alison and a reasonable amount of classroom instruction, for me the real learning comes from the critique sessions. Alison was commenting on 80 + images every day, remarkably many were very different even though we were all at the place. I found that while I learned a lot from the critiques of my images, I learn just as much from the critiques of the other students.

For the September workshops Alison is usually assisted by Donna Foster. Donna splits her time between Charlotte, North Carolina and Martha’s Vineyard. I can’t say enough good things about Donna. Last year she really talked me off a ledge when I was in Menemsha and lost for something to shoot – if you’ve never been, think rusty junky old stuff and lots of it. Then took the time to review my images that I had brought with me and showed me that yes I was actually improving by sequencing and commenting on them. It was the boost I needed.

The week is rounded off by a group dinner and show. It was fun to see the progression in everyone’s work from the start of the week to the end of the week. I had an excellent time and look forward to spending another week with Alison in 2012.

Lucy Vincent Beach

I’m on Martha’s Vineyard this week to attend Alison Shaw’s photography workshop. The weather has been good but we’ve lacked the spectacular sunrises and sunsets so far his week. One of the things that going out regardless of the weather is that it pushes you to go beyond the bounds of what you might think are conditions needed for great photographs. I’ve bumped up against this a couple of times already this year and again for our evening at Lucy Vincent beach. There was a decent amount of cloud cover and it got foggy as the evening wore on. The image below was my favorite from the ones that I’ve reviewed so far.

Wide Angle Distortion – Does this Lens Make me Look Fat?

Over Labor Day weekend I spent some time playing with my regular lens walk around lens, Canon’s 24-104, but using it at the wide angle setting. I know that wide angle lenses can cause distortion and have particularly noticed curved horizons as the a byproduct of working with the wide angle. Converging verticals and keystoning are also other hallmarks of a wide angle lens.

I’ve read all this in books but hadn’t really internalized it until I made this image:

Sort of annoying because I wanted to include a big open sky.

Keeping the sensor parrallel to the lighthouse resulted in this:

A little better. When I got this home I used the function within lightroom to correct for the lens used and got this image:

I looked at this for a while but couldn’t put my finger on what was the problem with it. Then it dawned on me. Correcting for lens distortion made the lighthouse ‘chunkier’ than it actually seems in real life. There’s a lesson for all of us in that – be careful with automatic settings. They work great the majority of the time but not always.

I finally decided on how I wanted the image to look and came up with this:

Tons of fun and some good lessons.

Friday Inspiration: Alison Shaw

I’m getting ready to head over to Martha’s Vineyard for a week of photography starting Saturday. What better way to spend the week than being given a tour by the photographer who literally wrote the book on ‘Photographing Martha’s Vineyard‘ – Alison Shaw.  Alison is a fine art and editorial photographer who lives year round on Martha’s Vineyard and has done so since she came for the summer in 1975 and never left.  Here’s Alison talking about her book and photographing on Martha’s Vineyard: