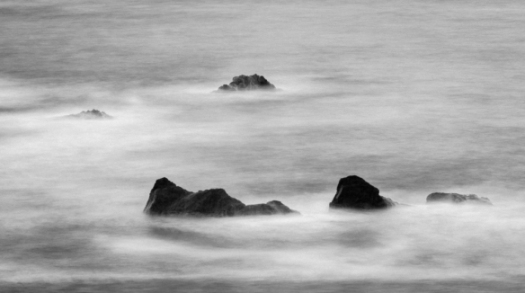
Practicing at Practicing

Nixon_130515_4122-Edit

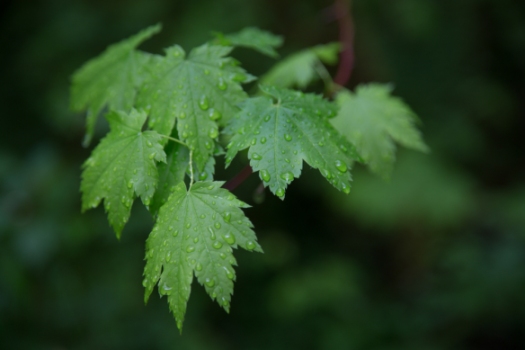
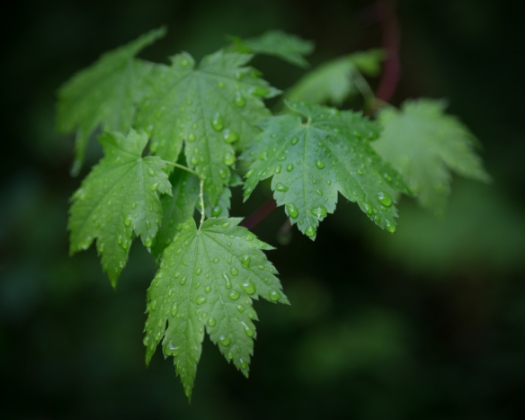
I recently upgraded my copies of Lightroom and Photoshop which of course brought with it the headache of making sure that all the plug-ins that I have for both programs were installed and working properly. In photoshop my plugins are ‘grayed out’ and unavailable to be fired up unless you have a photo open. So to solve that problem I opened one of the leaf pictures that I had intended on working on but hadn’t gotten around to it. I opened the leaf image and started OnOne Software’s “Perfect B&W’ plugin. I tried some of my favorite black and white presets. There are lots panels with lots of sliders that you can use to further tweak the image. One panel that I wasn’t familiar with was the ‘blending’ and so I spent some time playing with the various options and was surprised and pleased to discover that using the overlay mode gave me the image above. I liked it so much more than the image I started with which is below.

Nixon_130515_4122-2

Could I have gotten there with just Lightroom or Lightroom and Photoshop? Maybe… I realized that the image out of the OnOne plug in had a vignette (easy to do in Lightroom), and was a bit crunchy – had either a lot of contrast or clarity or a combination of the two added.

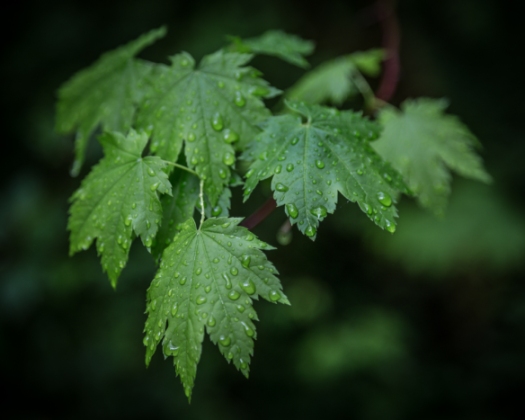
Adding a vignette was easy – I generally use ‘Post-Crop Vignetting’ and dialed in -33 using the highlight priority option in LR5.

Leaves_Vignette

Cruchiness wasn’t so easy. I thought that clarity would give the effect that I was looking for. Ramping clarity up to 100% gives the crunchiness I was looking for but there’s still something missing.

Leaves_Clarity

Adding a strong constrast curve gets us closer but the image is too green.

Leaves_Contrast

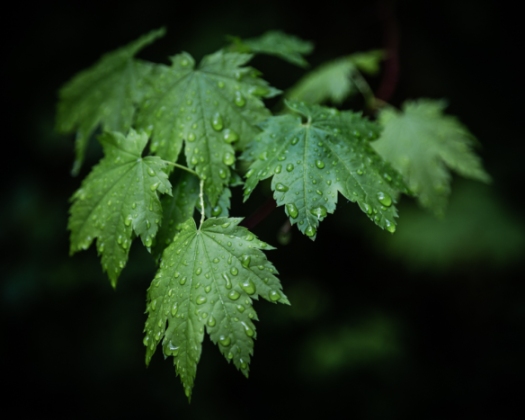
Finally desaturating a little using both saturation in the Presence panel and also the green slide in the HSL panel gives the image below.

Leaves_Desat

A vast improvement over the original and I like it better than my target image. I found this to be a useful exercise in exploring the power of Lightroom which I’m sure will come in useful.
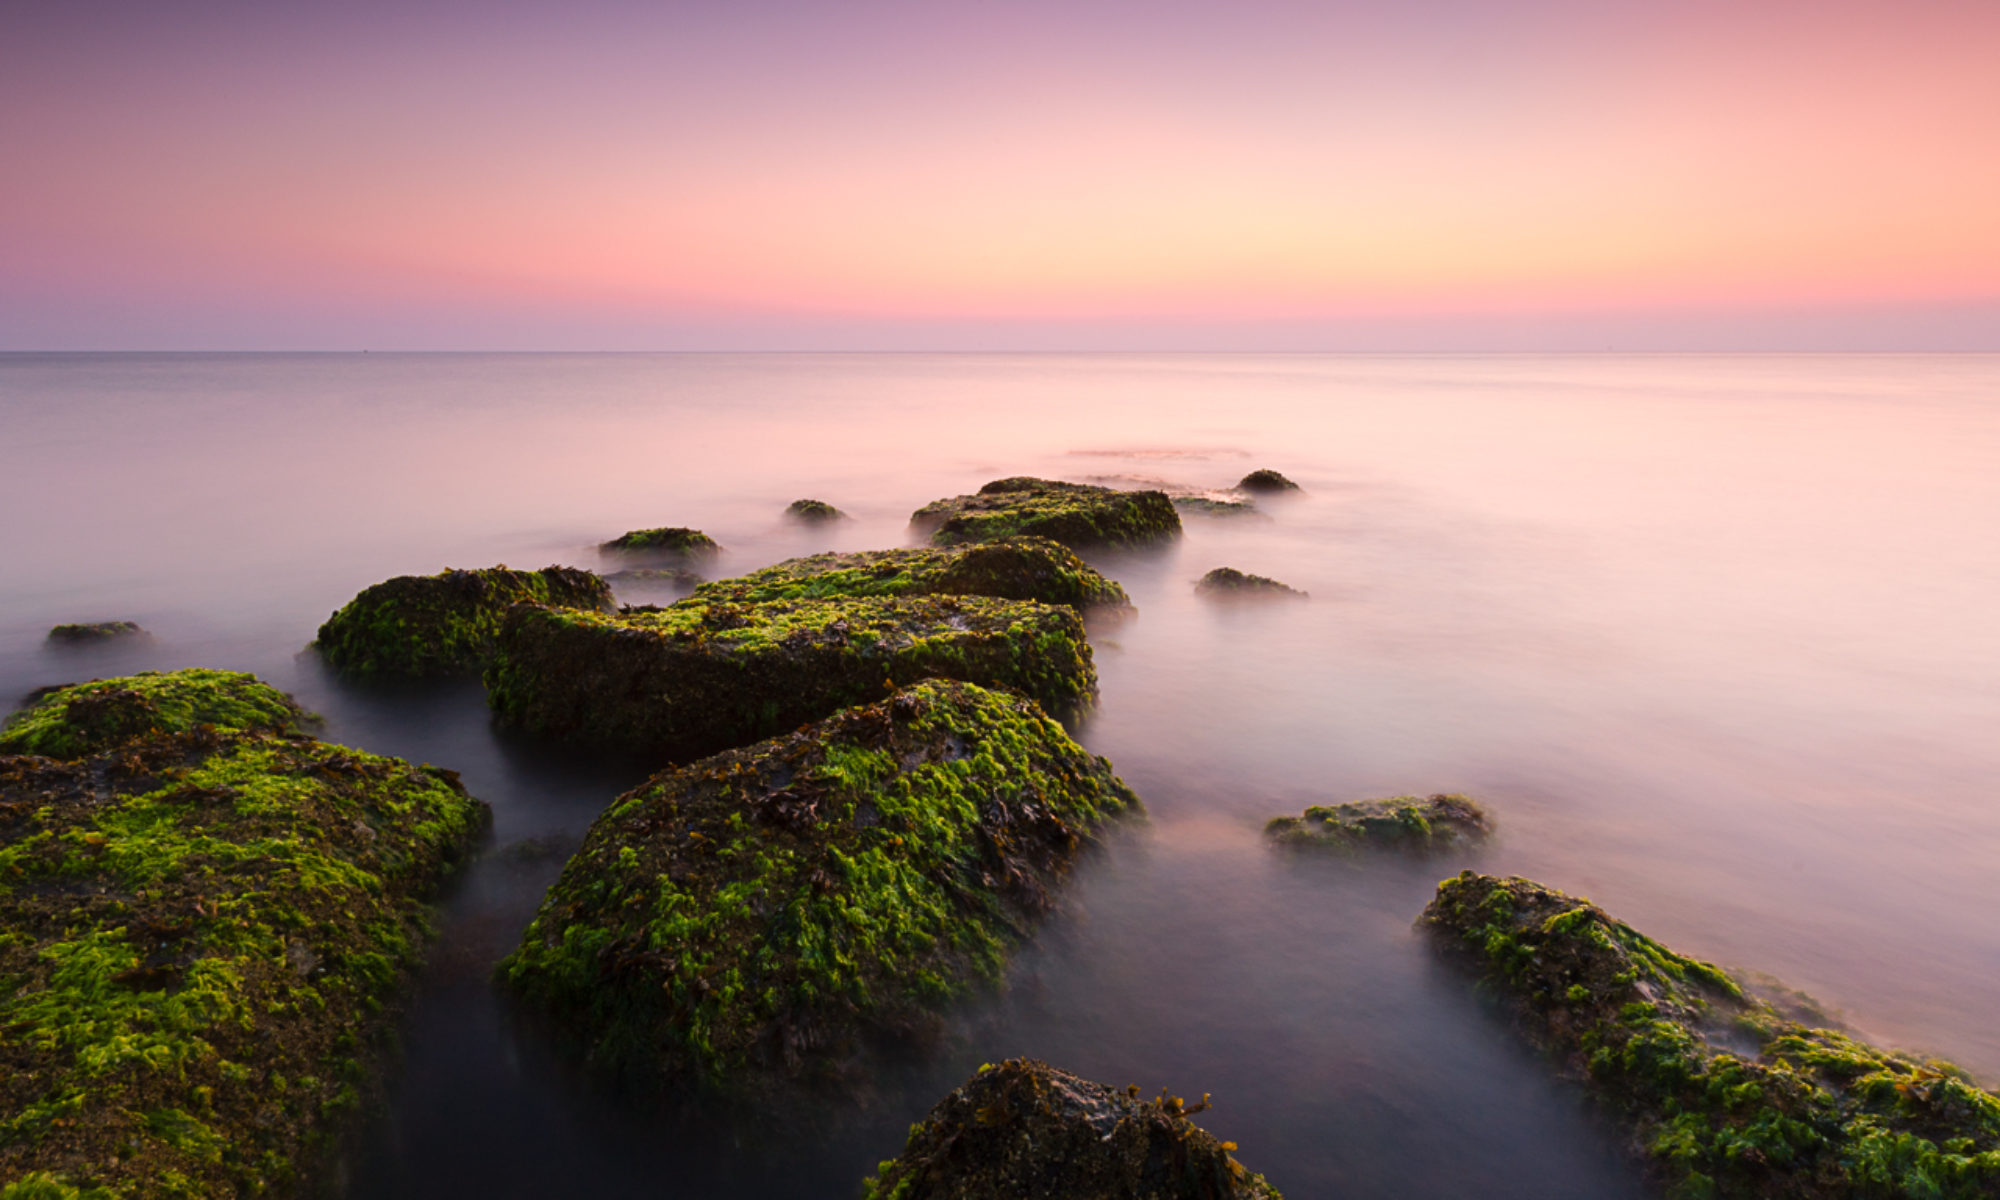
Playing with Presets Redux: Black & White Preset Download

Nixon_130517_5888

When I originally wrote about using presets to explore the potential in my images I had intended on providing the final black and white preset that I made as a downloadable file. Unfortunately I couldn’t quite figure out how to do it. Should be easy enough right?

I continued to use the preset and have used it on all of my black and white images that I’ve posted here over the last few weeks, including the one above. Then finally I figured out how to provide the file.

Click here to download the preset and instructions on how to install it.

Installation of the preset is quite easy:

1. Open Lightroom

2. Navigate to the ‘Develop’ module

3. Find ‘User Presets’ in the presets panel on the left hand side.

4. Right click or control click on ‘User Presets’ to open a menu.

5. The menu has 2 options – New Folder and Import. Click import.

6. A file browser will open that will allow you to navigate to the preset you downloaded. Click on the preset you wish to import and then click ‘Import’.

7. That’s it! The preset should now be loaded into the ‘User Presets’ section of the Lightroom develop module.

To use the preset is easy enough. Select the image you want to work with, open the develop module (I usually just hit the ‘d’ key), under the user presets click on the B&W Preset. Done!

Of course sometimes you might be done, other times you might want to work the image a little more. The most common additional edits that I do are: apply lens correction, change the vignette – which is found under the effects panel on the right hand side, and to change the grain characteristics – also found under the effects panel.

You might want to do other things but I hope that this serves as a solid jumping off point. Let me know if you like this, how you’re using it, what works, what doesn’t. I’d appreciate the feedback.

Get 'Em While You Can

Nixon_130515_4038

I’m back home again after a a family holiday at the beach. I don’t know how you travel but for us we always have somewhere to be and while our trips may take us through gorgeous parts of the country we’re always too time crunched to stop to explore. As we zipped across Shelter Island, somewhere I’d like to explore further, the image at the top of the page came to mind. It’s a view across Crescent Lake. I was obviously drawn to the reflections in the mirror smooth lake. At the time I was zipping down to Forks but decided that since there wasn’t any pressure to be in Forks at a particular hour I’d stop. I spent probably 20 or 30 mins photographing at this spot, working out of the back of my car with the music blaring. Most certainly a good time. I never saw the lake flat enough any other time during my visit to the Olympic National Park for this kind of reflection. If I’d done what I was thinking which was to ‘get it on the way back’ the shot wouldn’t have been there.

What was also cool was another photographer pulled in behind me and introduced himself – Jack Graham – a very familiar name to me. I’d looked at his guide to photographing in washington state and at his workshops as part of my researching potential ONP workshops. At the time I ended up going with Art Wolfe but having met Jack and emailed him a few times afterwards I’d recommend his workshops any day.

This experience not only underscores the need to get the shot when you can but also that by getting off the usual rails that we run on we may stumbling into interesting opportunities.