Practicing at Practicing

Nixon_130515_4122-Edit

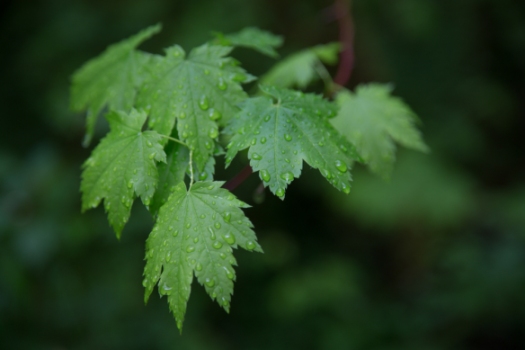
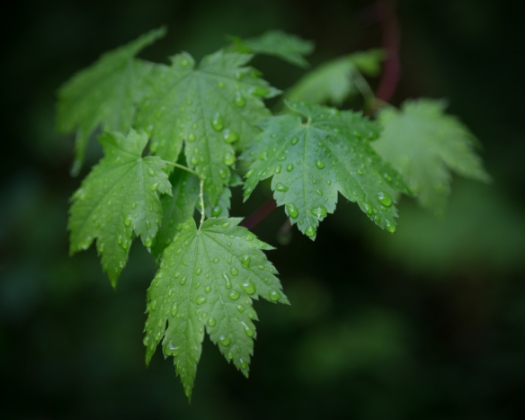
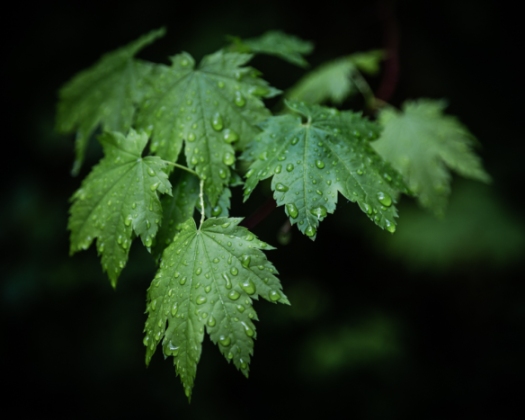
I recently upgraded my copies of Lightroom and Photoshop which of course brought with it the headache of making sure that all the plug-ins that I have for both programs were installed and working properly. In photoshop my plugins are ‘grayed out’ and unavailable to be fired up unless you have a photo open. So to solve that problem I opened one of the leaf pictures that I had intended on working on but hadn’t gotten around to it. I opened the leaf image and started OnOne Software’s “Perfect B&W’ plugin. I tried some of my favorite black and white presets. There are lots panels with lots of sliders that you can use to further tweak the image. One panel that I wasn’t familiar with was the ‘blending’ and so I spent some time playing with the various options and was surprised and pleased to discover that using the overlay mode gave me the image above. I liked it so much more than the image I started with which is below.

Nixon_130515_4122-2

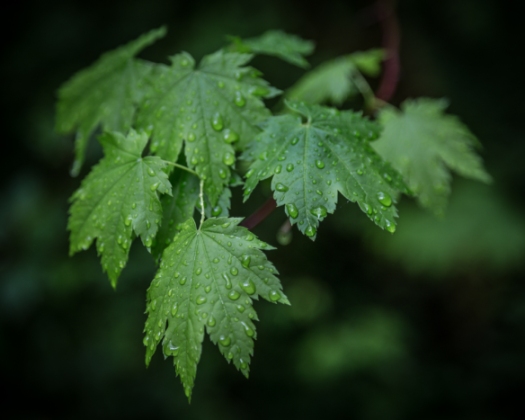
Could I have gotten there with just Lightroom or Lightroom and Photoshop? Maybe… I realized that the image out of the OnOne plug in had a vignette (easy to do in Lightroom), and was a bit crunchy – had either a lot of contrast or clarity or a combination of the two added.

Adding a vignette was easy – I generally use ‘Post-Crop Vignetting’ and dialed in -33 using the highlight priority option in LR5.

Leaves_Vignette

Cruchiness wasn’t so easy. I thought that clarity would give the effect that I was looking for. Ramping clarity up to 100% gives the crunchiness I was looking for but there’s still something missing.

Leaves_Clarity

Adding a strong constrast curve gets us closer but the image is too green.

Leaves_Contrast

Finally desaturating a little using both saturation in the Presence panel and also the green slide in the HSL panel gives the image below.

Leaves_Desat

A vast improvement over the original and I like it better than my target image. I found this to be a useful exercise in exploring the power of Lightroom which I’m sure will come in useful.

Shooting in the Rain

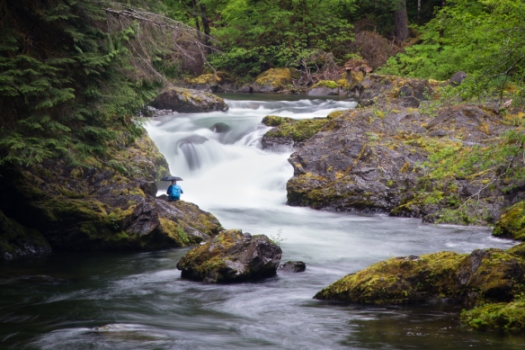
Nixon_130518_6497

People always tell me that interesting photographs are made when there’s interesting weather. I’m not sure that rain falls into the ‘interesting’ category but we’ve certainly had a lot of the stuff in the last couple of weeks regardless of which coast you’re on. Going to a location to photograph and getting rain the whole time you’re there leaves you with some choices but essentially, wait for the rain to stop or get out in the stuff and make the most of it.

I’ve definitely been one to wait for the rain to stop, particularly when it’s cold. Who needs to be wet and cold? For shooting in forests in the spring, overcast weather, perhaps a little drizzly, is ideal. But that also means you have to deal with how to prevent your gear from getting too wet. Part of my reluctance to photographing in the rain is that, since electronics and water do not mix, it just doesn’t make sense. Now I know that many DSLR cameras have some degree of ‘weather-proofing’, and generally the higher up in the range the better the weather proofing but nothing is ideal. Art Wolfe tells an amusing story of how he encouraged a group of his workshop students using Canon 5Dmkii cameras to keep shooting even though it was raining and all their cameras stopped working while his 1D kept going.

So you’re committed to shooting in all weathers what to do? You could of course use an umbrella like the photographer in the image above. The classic approach that many workshop instructors will advise is to use a hand towel placed on top of your gear. It absorbs the rain and you can wipe your stuff down too. It seems to work quite well and hand towels are readily available, especially if you’re staying in a hotel! You could perhaps compliment this with one of the disposable shower caps that you can often find in hotel rooms which would cover up the back of the camera.

An alternate to this approach is the use of rain covers. There are an number of such proprietary covers that fit every budget. I have an aquatech basic cover, shown below. The one odd thing about this rain cover is that it also requires a special eyepiece that’s specific for your camera. The eyepiece is neat, large and spongy, perfect for someone like me who wears glasses and so I keep it on the camera full time. It’s a bit of a wrestle to get the cover on but it works great.

2013-05-24 13.50.55

My friend Jen showed me how to improvise a serviceable rain cover from a couple of items you can find in the produce isle of the local grocery store. Check it out in the image below.

Nixon_130518_0304

To make this you need one of the plastic bags that grocery stores provide for loose vegetables and a sturdy rubber band. I’m told that the rubber bands that hold bundles of asparagus together are ideal, although I like the ones that hold Andy Boy brand broccoli together. Then all you need to do is put the bag over the camera with the open end towards the camera body. Use the rubber band to hold the bag in place around the lens and then once the bag is firmly in place tear out the bottom so that the lens has an unobstructed view. I know many people would advise against it but I have skylight filters on all of my lenses and so ‘tearing the bottom out of the bag’ is really a matter of running my finger nail around the groove between the filter and the lens which is generally enough to neatly tear the bag. For those old enough to remember CDs, I used to do something similar to open the CD package – run my finger along the groove that the hinge of the case between the top and bottom parts. I must admit that this improvised cover works just as well as my aquatech cover. Something to consider if your caught out.