When I originally wrote about using presets to explore the potential in my images I had intended on providing the final black and white preset that I made as a downloadable file. Unfortunately I couldn’t quite figure out how to do it. Should be easy enough right?
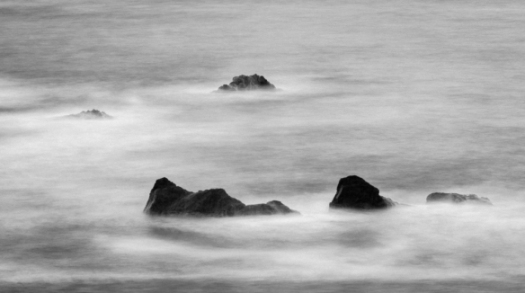
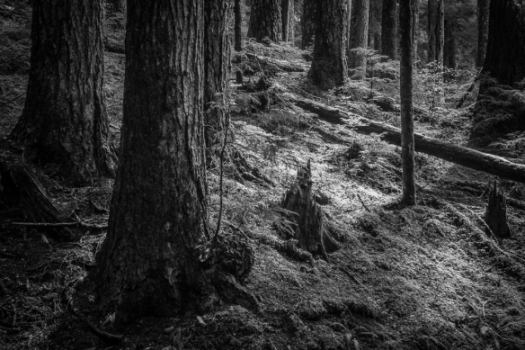
I continued to use the preset and have used it on all of my black and white images that I’ve posted here over the last few weeks, including the one above. Then finally I figured out how to provide the file.
Click here to download the preset and instructions on how to install it.
Installation of the preset is quite easy:
1. Open Lightroom
2. Navigate to the ‘Develop’ module
3. Find ‘User Presets’ in the presets panel on the left hand side.
4. Right click or control click on ‘User Presets’ to open a menu.
5. The menu has 2 options – New Folder and Import. Click import.
6. A file browser will open that will allow you to navigate to the preset you downloaded. Click on the preset you wish to import and then click ‘Import’.
7. That’s it! The preset should now be loaded into the ‘User Presets’ section of the Lightroom develop module.
To use the preset is easy enough. Select the image you want to work with, open the develop module (I usually just hit the ‘d’ key), under the user presets click on the B&W Preset. Done!
Of course sometimes you might be done, other times you might want to work the image a little more. The most common additional edits that I do are: apply lens correction, change the vignette – which is found under the effects panel on the right hand side, and to change the grain characteristics – also found under the effects panel.
You might want to do other things but I hope that this serves as a solid jumping off point. Let me know if you like this, how you’re using it, what works, what doesn’t. I’d appreciate the feedback.


