Practicing at Practicing

Nixon_130515_4122-Edit

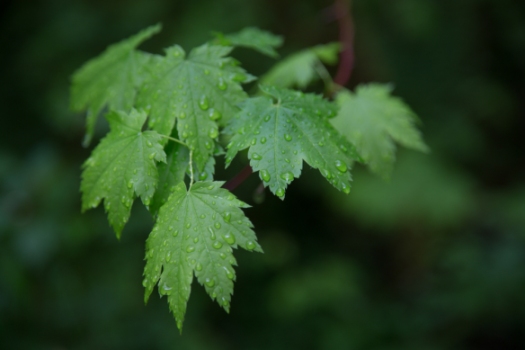
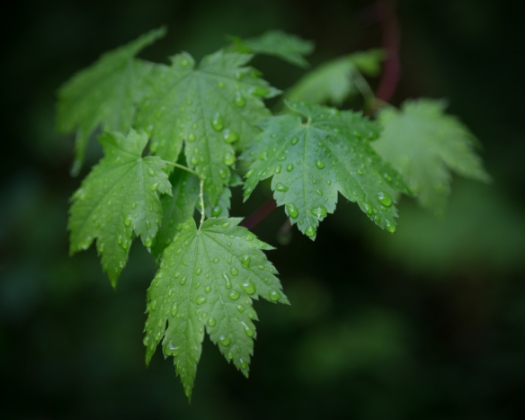
I recently upgraded my copies of Lightroom and Photoshop which of course brought with it the headache of making sure that all the plug-ins that I have for both programs were installed and working properly. In photoshop my plugins are ‘grayed out’ and unavailable to be fired up unless you have a photo open. So to solve that problem I opened one of the leaf pictures that I had intended on working on but hadn’t gotten around to it. I opened the leaf image and started OnOne Software’s “Perfect B&W’ plugin. I tried some of my favorite black and white presets. There are lots panels with lots of sliders that you can use to further tweak the image. One panel that I wasn’t familiar with was the ‘blending’ and so I spent some time playing with the various options and was surprised and pleased to discover that using the overlay mode gave me the image above. I liked it so much more than the image I started with which is below.

Nixon_130515_4122-2

Could I have gotten there with just Lightroom or Lightroom and Photoshop? Maybe… I realized that the image out of the OnOne plug in had a vignette (easy to do in Lightroom), and was a bit crunchy – had either a lot of contrast or clarity or a combination of the two added.

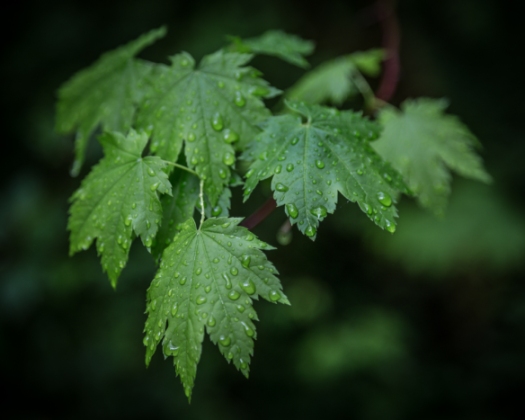
Adding a vignette was easy – I generally use ‘Post-Crop Vignetting’ and dialed in -33 using the highlight priority option in LR5.

Leaves_Vignette

Cruchiness wasn’t so easy. I thought that clarity would give the effect that I was looking for. Ramping clarity up to 100% gives the crunchiness I was looking for but there’s still something missing.

Leaves_Clarity

Adding a strong constrast curve gets us closer but the image is too green.

Leaves_Contrast

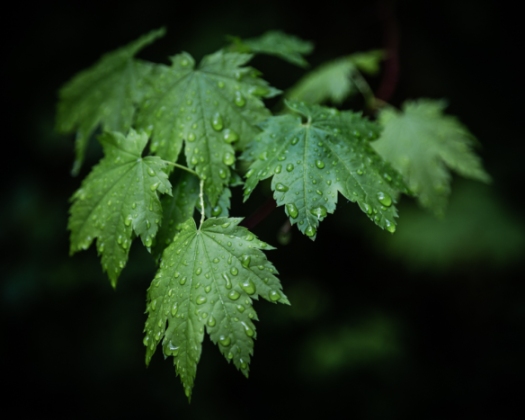
Finally desaturating a little using both saturation in the Presence panel and also the green slide in the HSL panel gives the image below.

Leaves_Desat

A vast improvement over the original and I like it better than my target image. I found this to be a useful exercise in exploring the power of Lightroom which I’m sure will come in useful.
Playing with Presets Redux: Black & White Preset Download

Nixon_130517_5888

When I originally wrote about using presets to explore the potential in my images I had intended on providing the final black and white preset that I made as a downloadable file. Unfortunately I couldn’t quite figure out how to do it. Should be easy enough right?

I continued to use the preset and have used it on all of my black and white images that I’ve posted here over the last few weeks, including the one above. Then finally I figured out how to provide the file.

Click here to download the preset and instructions on how to install it.

Installation of the preset is quite easy:

1. Open Lightroom

2. Navigate to the ‘Develop’ module

3. Find ‘User Presets’ in the presets panel on the left hand side.

4. Right click or control click on ‘User Presets’ to open a menu.

5. The menu has 2 options – New Folder and Import. Click import.

6. A file browser will open that will allow you to navigate to the preset you downloaded. Click on the preset you wish to import and then click ‘Import’.

7. That’s it! The preset should now be loaded into the ‘User Presets’ section of the Lightroom develop module.

To use the preset is easy enough. Select the image you want to work with, open the develop module (I usually just hit the ‘d’ key), under the user presets click on the B&W Preset. Done!

Of course sometimes you might be done, other times you might want to work the image a little more. The most common additional edits that I do are: apply lens correction, change the vignette – which is found under the effects panel on the right hand side, and to change the grain characteristics – also found under the effects panel.

You might want to do other things but I hope that this serves as a solid jumping off point. Let me know if you like this, how you’re using it, what works, what doesn’t. I’d appreciate the feedback.

Get 'Em While You Can

Nixon_130515_4038

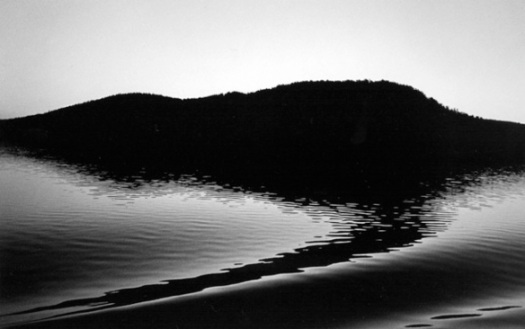
I’m back home again after a a family holiday at the beach. I don’t know how you travel but for us we always have somewhere to be and while our trips may take us through gorgeous parts of the country we’re always too time crunched to stop to explore. As we zipped across Shelter Island, somewhere I’d like to explore further, the image at the top of the page came to mind. It’s a view across Crescent Lake. I was obviously drawn to the reflections in the mirror smooth lake. At the time I was zipping down to Forks but decided that since there wasn’t any pressure to be in Forks at a particular hour I’d stop. I spent probably 20 or 30 mins photographing at this spot, working out of the back of my car with the music blaring. Most certainly a good time. I never saw the lake flat enough any other time during my visit to the Olympic National Park for this kind of reflection. If I’d done what I was thinking which was to ‘get it on the way back’ the shot wouldn’t have been there.

What was also cool was another photographer pulled in behind me and introduced himself – Jack Graham – a very familiar name to me. I’d looked at his guide to photographing in washington state and at his workshops as part of my researching potential ONP workshops. At the time I ended up going with Art Wolfe but having met Jack and emailed him a few times afterwards I’d recommend his workshops any day.

This experience not only underscores the need to get the shot when you can but also that by getting off the usual rails that we run on we may stumbling into interesting opportunities.

You Keep Shooting

Nixon_130517_5940-Edit-Edit

If you’ve ever watched any of Brian Peterson’s short photography instruction videos then you’ll recognize the tag line in the title of this post.

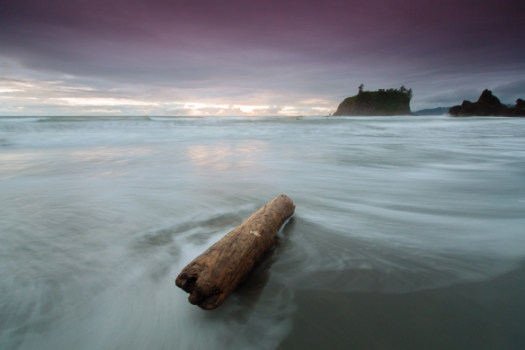
What actually went through my mind as I was reviewing photos from this evening shoot at Rialto Beach was ‘I should have kept shooting’. In my defense the circumstances were challenging. The tide was doing odd things. It would recede and seem like it was going out, but then the next wave would come 2 or 3 feet higher up the beach than it had for the last five minutes. I was getting caught out by this every time and I was getting wet. So what I had was a set of images where the log rolled and was blurred, the tripod moved as it sank in the sand and on and on. It wasn’t until I got to the last image in the set that I had the one at the top of the page. In hind sight I should have stuck with it at least a little while longer. I could have taken my shoes off and rolled up my pants, or just embraced getting wet and dealt with it. Whatever I did I should have kept going.

A lesson for next time – commit to getting the image and stay with it.

Look Behind You!

Nixon_130517_5332Look behind you is of course part of the standard audience participation in pantomime, a particularly English form of entertainment. It is also good advice to photographers because often good things are happening all around us and taking a moment to look up, down and all around can result in you spotting other good opportunities.

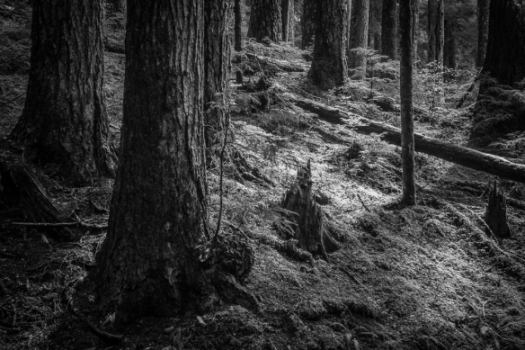
That was certainly the case for the photograph above. I was on the way to the Sol Duc falls and had stopped to photograph the mossy rocks that are part way to the falls. In taking a moment to look behind me I noticed that there was interesting light in the trees behind me. I shifted my attention to the trees for a little while and was fortunate enough to get a shot that, with the application of my standard B&W preset, resulted in the image at the top of the page.

So far I like this more than my mossy rock pictures and it just goes to show that looking behind you can pay off if you make a habit of it.

Friday Inspiration: Mary Randlett

Randlett

When I was poking around on Bainbridge Island recently I did a quick tour of most of the interesting shops on the main drag, Winslow street. I wasn’t looking to buy anything, my bags were perilously close to the 50lb limit imposed by the airline as it was, but rather looking. Looking for inspiration, looking for things that I could use later. In Bainbridge Arts & Crafts I came across a book by Mary Randlett called Landscapes that I thought was amazing.

Mary’s photography came to the notice of the public as the person who took the last photographs of the noted poet Theodore Roethke. She then went on to photograph Roethke’s students and other Northwest artists (including one of Johsel Namkung who I’ve written about previously), their artwork and architecture. As I understand it (from one of the essays in the Landscapes book) Mary’s landscape work was ‘personal work’, photographs that she made for herself and shared with friends as christmas cards. These photographs eventually were published in the Landscapes book.

What particularly appeals to me about Mary’s work is that there is little of the grand landscape here. The feeling is much more of someone who had spent time with the landscape, enough time to let the landscape reveal itself.

To see more of Mary Randlett’s Landscape work I highly recommend the Landscapes book. The University of Washington has some of her work online in their digital collection. As always let me know if you find a good resource that I missed.

Randlett_Beach

Friday Inspiration: Pat O'Hara

NP-OM-418V

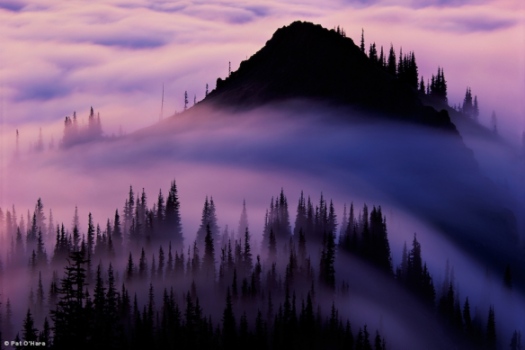
In doing research for my trip to the Olympic National Park one name that came up in a couple of places was that of Pat O’Hara. I’ve found it tough to find out about Pat. He seems to have been most active before the internet kicked into high gear and so there isn’t a big Pat O’Hara web footprint. There is some material – this page on the Nikon website gives a nice biography of Pat and gives a sense of his path to photography from his military service days in Vietnam in the 60’s escaping into photography during his R&R time to his photobooks that serve his passion for the environment and conservation. The gallery of images on this page is also a good resource giving a good overview of Pat’s work – a mix of both the grand and intimate landscape.

There is more information about Pat on the Visionary Wild website, largely because the principal there, Justin Black, seems to have coaxed Pat into teaching a workshop a year or two ago. I actually looked at this workshop which was based in the Olympic National Park with a special extension in Pat’s studio but passed on it because I had too many other commitments and thought, foolishly, that I could go to the next one. I haven’t seen another offered but would of course jump on it given the chance.

Given the relative small footprint on the web we are then left to look at Pat’s books. Fortunately many are available on amazon.com. Click here to see a list. The first of his books to arrive from amazon was ‘Olympic National Park‘ which has the perfect subtitle ‘Where the mountain meets the sea’. It’s a delightful tour through the park, especially since every image is a unique perspective that I have yet to see elsewhere, plus there is a blend as a mentioned above of grand and intimate landscapes. His work really makes me realize that there are unique images to be made in even the most well visited places if you just take the time to go beyond the postcard shot.

If you find a good source of Pat O’Hara’s work, let me know I’d love to see it.

The Path Home

Nixon_130518_6502

Home again after what seems like quite a while in the Pacific Northwest. I’m still digesting what I saw and learned while I was out there, so be prepared for Pacific Northwest related posts for at least the next week or so. Just for the record my path home was car, boat, car, plane, car. Not tortuous, but it did involve a Viking Festival, which was a surprise.

Taking a Mulligan

Nixon_120604_0763-Edit-Edit

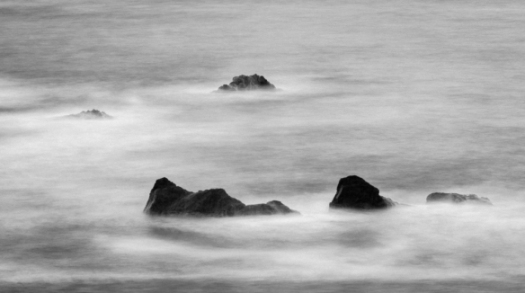
Everyone deserves the opportunity to have another go, to reinterpret and reimagine their work. The more that I understand lightroom and photoshop the more possibilities there seem to be. In an interview with Michael Kenna I recently read he said that one of photography’s greatest strengths is that it is (or at least was) tied to reality. That tie is clearly broken for those that wish it to be. While I’ve yet to push reality hard, I have started to play a little. The image at the top of the page is a reworking of the image that I posted a few weeks ago based on the feedback that i received here and to fix a few things that bugged me which I didn’t know how to fix at the time. So a mulligan, a do over, let me know your thoughts.

Friday Inspiration: Johsel Namkung

namkung

When I was planning to go to the pacific northwest, and particularly the Olympic National Park, last year I began casting around for inspiration and to see what others had done in this area. Art Wolfe was obvious since it was his workshop that I was going on. Jay Goodrich too since he was also one of the workshop leaders but who else. That was when I came across Johsel Namkung, a photographer who some have suggested is ‘Seattle’s answer to Ansel Adams‘. I think I would disagree and suggest that Namkung has more in common with Eliot Porter than he does with Ansel Adams. When I think of Ansel Adams I think of the grand landscape captured in black and white, whereas when I think of Eliot Porter I think of more intimate images captured in color. For me Namkung’s most powerful images are color studies of shape, line and texture.

A restrospective of his work was published by Cosgrove Editions in 2012. You can browse the book here and find out more about him at johselnamkung.net. Check it out, it’s worth a look.