G.G.A.S.*: Canon 100-400 mkII

Nixon_150115_6462

*Galloping Gear Acquisition Syndrome

I am generally happy to remain ignorant of the latest bells and whistles that the camera manufacturers have added in order to sell another piece of gear that no-one really needs. However, of late my head has bean turned by lots of new doodads. The latest in this parade of head turners is the updated version of Canon’s 100-400mm lens. I had the original ‘dust pump’ version of this lens which I eventually retired because it never saw much action and following it’s use I ended up spending a while cleaning the sensor on the body that it was used on. Having said that, there was a certain novelty factor to the way that the lens extended to change focal length. For the weight and number of times I used the lens I decided to leave it on my desk at home and make do with my very much lighter 70-200mm lens.

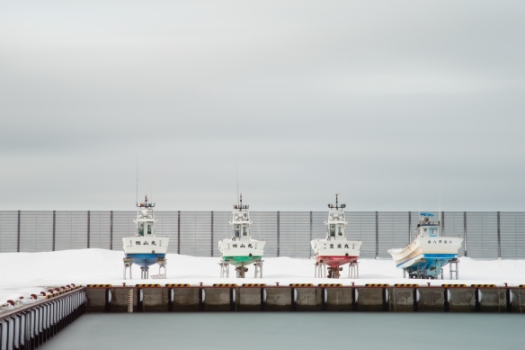
There are times however when the extra reach can allow you to make the photograph that you have in mind. The image above is a case in point. I’d tried with my 70-200, it really wasn’t working, click on the image below to see what I mean. Nixon_150115_6450

While getting closer was certainly an option I had an opportunity to use the new 100-400 lens and made the image below using the same settings as I had with my 70-200mm. Nixon_150115_6462

Immediately noticeable on the LCD screen on the camera was that the image made using the 100-400 was sharper than that made with the 70-200 even though all the camera settings and lens settings were the same. This in inevitably led me to wonder what if I dumped the 70-200 and replaced it with the 100-400 lens. That way I’d have a nice sharp lens capable of the extra reach when I need it. My only concern is the weight – a chunky albs. We’ll see how I get on!

Ohmu Breakwater

Nixon Water1

With all the snow that we’ve been having here in New England you would think that I would have had time to finish working on my images from Japan wouldn’t you? A reasonable expectation but I’m swamped here at the moment. More about what’s going on in a few weeks.

I’ve mentioned here before that I generally take a lot of frames when I’m out shooting, particularly when I’m photographing water. With flowing water each frame will be different and potentially offer something unique. Also worth exploring is a range of shutter speeds – I generally try to keep some sense of motion in the water rather than blur the water completely with a very long exposure.

I’m still working on the image above – I’m happy with this version but will now live with this for a while to learn what I like and what I like to change.

Filters – Trials and Tribulations

Nixon_150111_4928

There’s nothing that frustrates me more than being prevented from making the photographs that I have in my head than gear that doesn’t perform as expected or fails in one way or another.

While I’ve been in Japan I’ve been using my normal collection of ND filters but also experimenting with the Big Stopper. My usual approach to photography is to make exposures that I can then use to recreate the feeling that I had when I was there. Although much of my post-processing work has previously consisted of a few trivial moves in Lightroom, it is increasingly becoming a more substantial amount of work in photoshop.

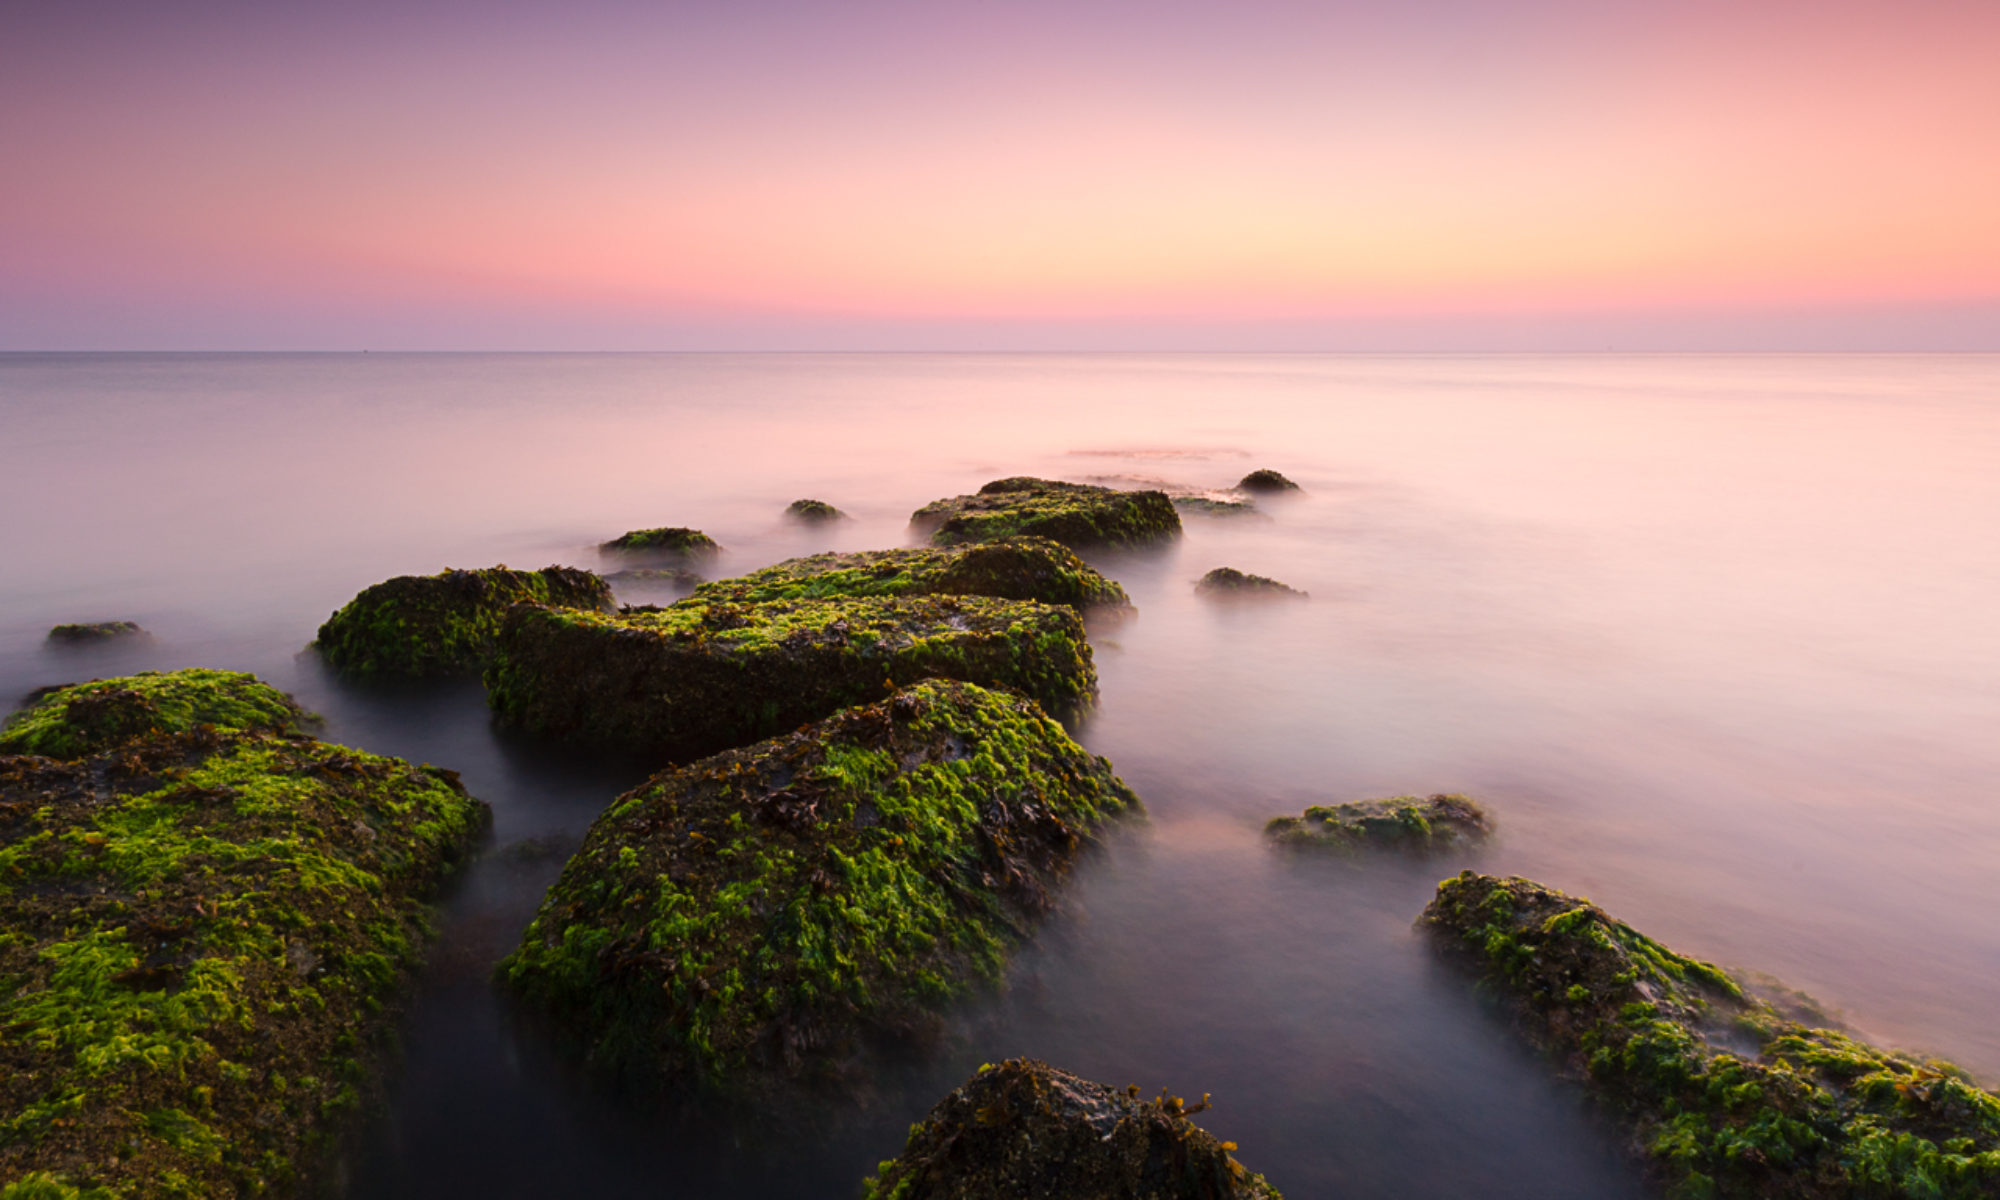
For shooting moving water at the coast specifically I try to have the shutter speed be around 2 or 3 seconds, which is generally long enough to blur the water substantially while still retaining a sense of movement. At sunrise or sunset getting the right shutter speed is a matter of playing with ISO and f-stop, as it gets lighter and I can no longer decrease the ISO I will generally add a 3 stop neutral density filter. On this trip I’ve also been adding the Big Stopper into the mix to get even longer exposures such as the one above which was a 2 min exposure.

To make an exposure that is well exposed for the sky and the ground (or water in this case) I may use a graduated ND filter or take a bracketed set of exposures or both. I’m essentially collecting the raw materials to make the image later and not being stuck on getting ‘it right in camera’.

I have been using the 4 x 6 in filters from Singh-Ray, specifically the 3 stop ND filter and the Galen Rowell 3 stop soft ND gradient filter in a Lee filter holder. The filter holder attaches to the lens by means of a screw in adaptor ring.

Here’s where the fun began – I have UV filters on all of my lenses to protect them from the salt spray that I inevitably get covered in when I’m at the beach. We could argue about the value of those filters some other time and I will provide an argument below why I shouldn’t be using them. What I managed to do was to get the filter holder adaptor stuck on the UV filter of one of my lenses making it very cumbersome to use the filter system on any other lenses – not impossible just cumbersome. And annoying…

I tried all kinds of things to get the two separated, wearing rubber gloves so that I could get a better grip, putting a rubber band around the UV filter to help me get a better grip, heating with a hairdryer, all to no avail. At the suggestion of one of my new best buddies to warm up the UV filter by holding it and by doing so expand the UV filter slightly I did the following:

  • cooled the UV Filter/Filter adaptor pair by putting it in a cold draft, essentially on an outdoor window sill
  • sat the UV Filter on something warm, in this case my bare arm, taking care not to touch the upper adaptor ring, until it didn’t feel cold any more
  • put a rubber band around the UV filter
  • put on my rubber gloves and twisted

The whole thing then came apart with a little bit of effort. I was stunned given that I’d been trying for a couple of days to separate them. File this away in case you ever find yourself in the same predicament.

On a wide angle lens I will usually see substantial vignetting that results from the filter adaptor being stacked on the UV filter. In the past I’ve gotten away from this problem by hand holding the filter and not using the holder. Inevitable this means that I scratch the resin filters and move during the longer exposures or screw the shot up in some other way which is why I’ve started using the filter holder routinely. After a bit of experimentation while I was here I realized that if I take the UV filter off the lens then the vignetting goes away. The lens of course is still protected by the ND filter and all is right in the world. When I’m done with the filter holder I’ve been putting the UV filter back on the lens but can imagine that I will soon ditch the UV filters completely.
In Service of the Print

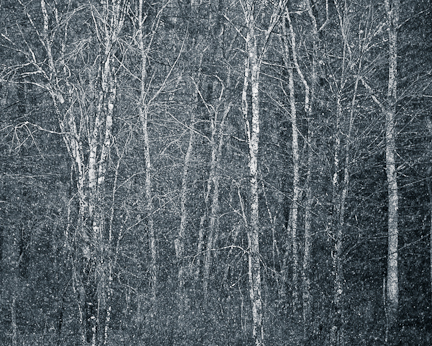
Winter Trees

‘Not every printer is a great photographer, every great photographer is a great printer’

Ansel Adams

I came across the quote attributed to Ansel Adams a couple of weeks ago and couldn’t help but wonder whether this is really true today. There have been seismic changes in photography and technology in the last 10 or so years – the shift to digital, decent cameras in most mobile phones, great tablet devices and on and on – that makes me wonder what was true when Ansel Adams made his comment is still true today.

How many people feel the need to print? Sure not people who are stock photographers. They deliver their content to the stock agencies digitally and it is further distributed digitally. Wedding photographers? Again another example of a group that are focused on high quality with high productivity, that would most likely today have some if not all content delivered digitally with the remaining photographs and associated wedding books printed by specialty print services. Editorial photographers, similar story – digital delivery to their editors.

Does this mean that these photographers are not ‘great’? Of course not. The successful photographers in these fields have exacting standards that when coupled with creativity and a capacity for hard work has been the foundation for their success.

So is Ansel’s comment still relevant today? I think so but we should modify it slightly – ‘Every great fine art photographer is a great printer’.

It’s never been easier to print your own photographs. Prices of really good ink jet prints have dropped precipitously and are well within the range of most serious amateurs. There are a huge range of ‘substrates’, papers and other specialty surfaces, available for printing. The standard printer drivers and paper profiles give good results without needing tweaking. Finally there are a tremendous range of resources available to help you along the way – George DeWolfe’s Book ‘George DeWolfe’s Digital Photography Fine Print Workshop‘ is one that I would particularly recommend. It’s quite possible then for us all to make good prints and with a commitment to the craft even some great ones.