Gear Lust & Chasing the Look

Nixon_130208_0417-Edit

I’m often sucked into the vortex that is lusting after new gear. While there is something to be said for the improvements in technology i’m more often that not thinking about larger format cameras – Hasselblad 503C and the Linhof Techno. While thinking about these I entertain the notion of a digital back but in reality I’m thinking about what people have created with these and similar cameras using film.

It took a while but it finally dawned on me that what I’m hankering after is not necessarily the gear but the look that is created. The look of course is in part gear dependent since each of these cameras has a unique mechanism, good but different lenses, that I’m sure but can’t prove to you today that have a unique look to them, and then of course there’s the film that imparts a certain look too. Camera body, lens and film all give a distinctive look as do the choices made after capture, the choices made during development of chemistry and paper.

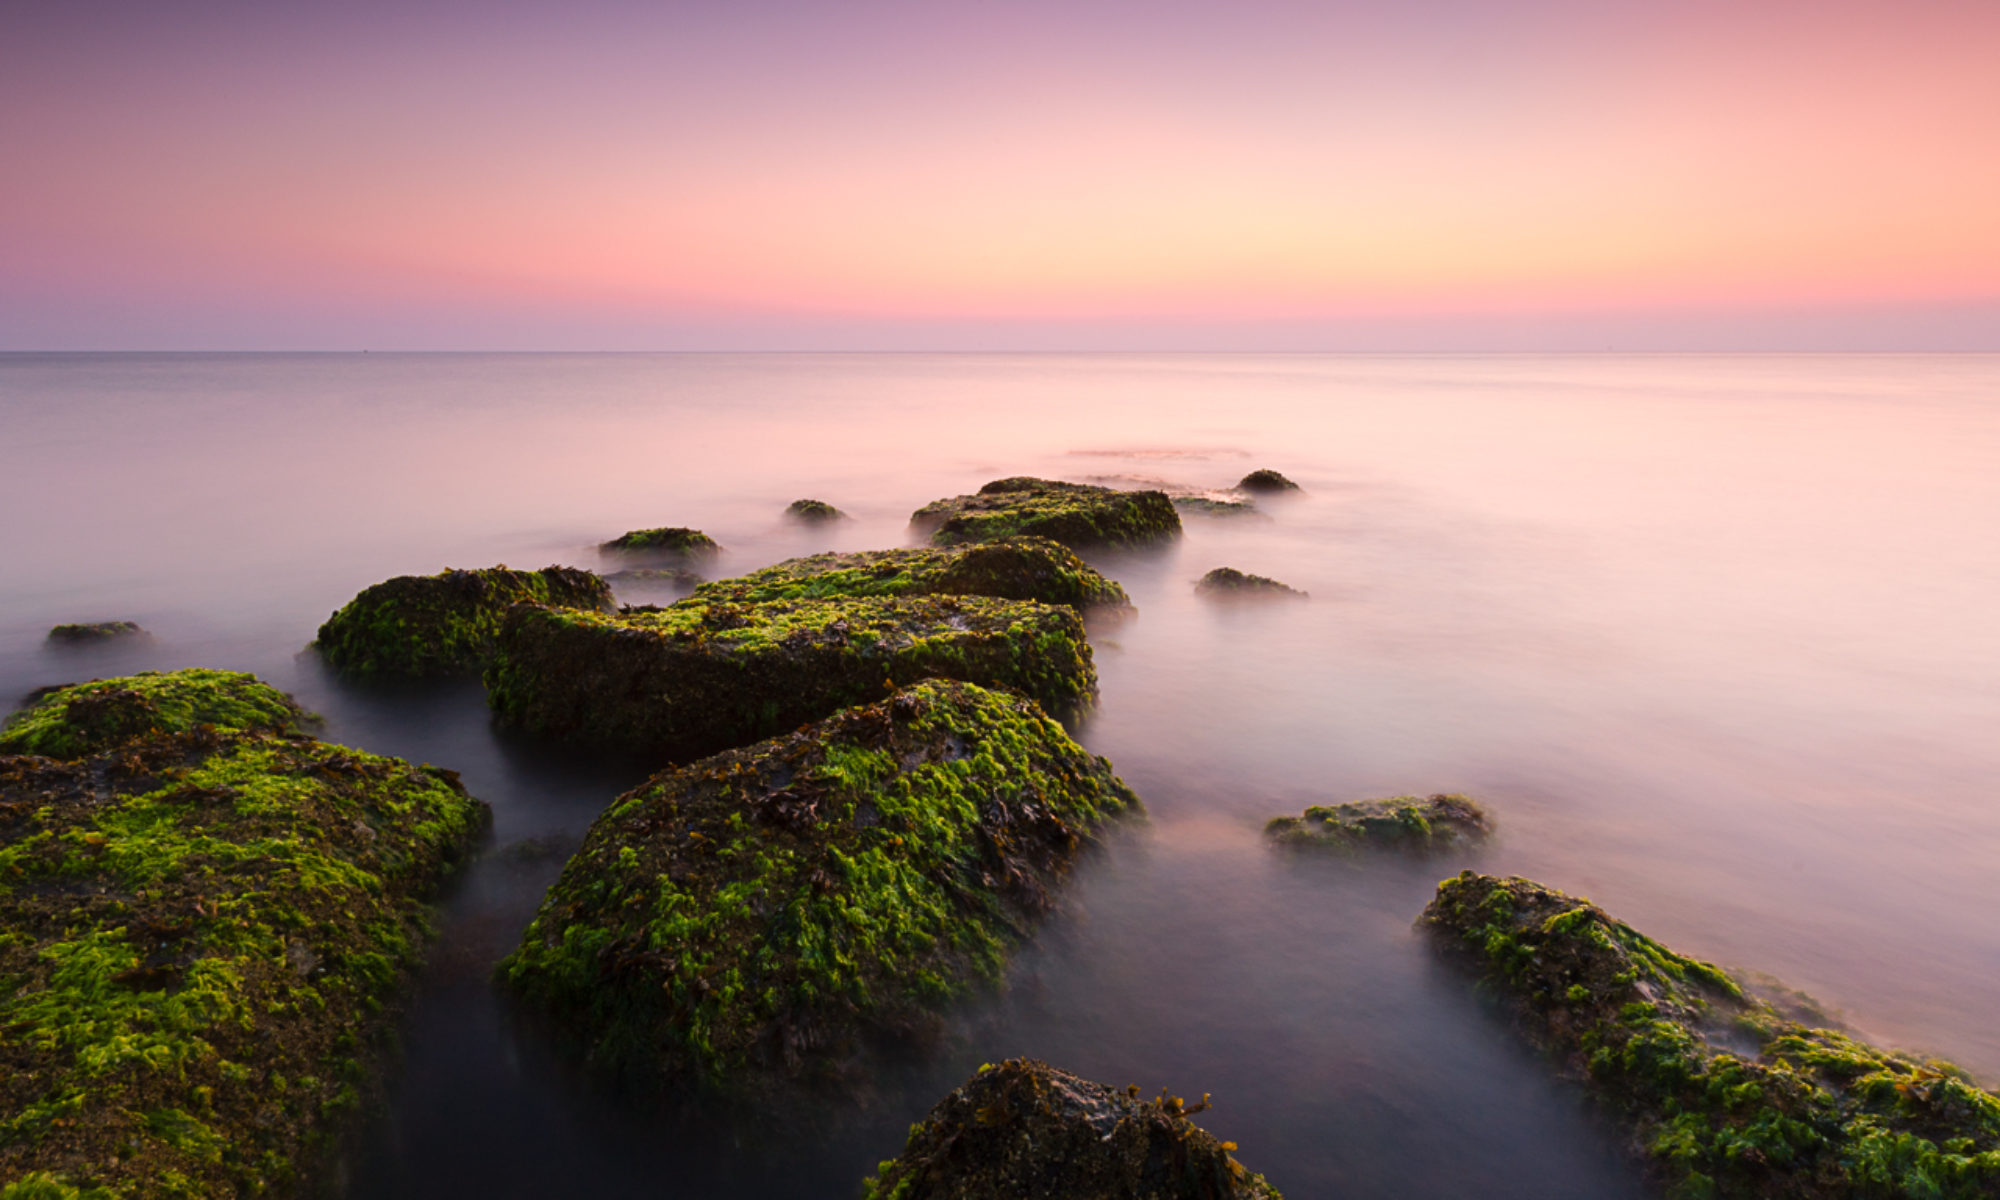
For a while most of the images that I shot with my iPhone were processed to give a ‘lomography look’ to them and I did entertain for a while getting a loom film camera but at the same time thought that I ought to be able to create that look digitally with the camera that I already have. More recently I’ve been taking gritty black and white images with my iPhone and again felt that I ought to be able to achieve a similar effect with the DSLR that I already have. The image above is a first attempt. I’d be interested in your thoughts. I’m chasing the look, just with the tools that I already have to hand.

3 Things I like About iPhoneography and a Couple I Don't

20120123-103127.jpg

1. My Camera is always with me.

There have been so many times when I wished I had a camera with me and regardless of how small the ‘pocket’ camera is I never have a pocket big enough. My iPhone goes everywhere with me.

2. I’m ‘playing’ more than I do with a DSLR.

Along with having the camera with me all the time I’m trying things that I would never have tried with a DLSR such as shooting from unusual angles and trying out different types of processing.

3. Lomo

I’d never heard of the Lomo LC-A camera before I started using the Lomo preset in PhotoToaster. Now I’m half seriously thinking about getting one. Until then I’ll keep trying out the Lomo preset on all of my color images.

… and a few things that I don’t

1. Small file size and consequently small prints.

Some of the iPhone photos I’ve taken in the last year I love but I also know that I will struggle to make big prints from them.

2. Apps that dump data and make small files even smaller.

I love the Hipstamatic app but what’s up with the tiny files?

3. iPhoneography?

Really? That’s the best we can do? How about we just say photography?

Add your voice to the conversation – leave me a comment.

Down The Tube Station at Midnight

20111115-221659.jpgI spend a lot of time traveling around Boston using the underground system which is locally referred to as ‘The T’. Even though I’d traveled around for years on the T it was only since my obsession with grungy iPhone photos kicked in that it occurred to me that there were some potential images to be made while waiting for the train. Initially I considered these to be sketches of what I might be able to do with my ‘real’ camera. Even so I quite like what I’ve been able to do so far and will continue to push the idea forward.

Happy Halloween

20111101-182558.jpg

I sincerely hope that your Halloween was less eventful than it has been for many residents of New England. An early winter snow dropped several inches of snow on the region, leaving many without power, prompting many towns to shift their Halloween festivities to the coming weekend.

The image above was taken before the games began, while my family were looking for pumpkins for the front step. Taken with my iPhone this image was processed with my usual lomography workflow.

Fall Color Lomography

20111024-140009.jpg

As I mentioned earlier in the week, my attempts to head north for some fall foliage photography this year have been thwarted. Instead I’m making the most of the local color using both my regular DSLR and the iPhone. I am working up a set of iPhone photographs made using the lomography workflow I described in a previous post. I’m not sure where I’m going to go with the project but I’m having fun and starting to develop an idea about how the photos should look rather than relying on what the presets give me. Often this means that I’ll initially process the image and then as I live with the original processed image for a while I’ll find things that I want to change. This was certainly true of the image above that was taken just in front of my house. This image is now into the third iteration of edits. I’m finally liking it as it is, although digital editing means that it is way to easy to go back and tinker some more.

iPhone Lomography – My Current Workflow

As I’ve mentioned before here, I’m having a blast working with the camera on my iPhone, largely pushing into territory I had previously thought was not for me. One of the presets that gives an effect that I like is ‘Lomo’ in the app Phototoaster. Not being a student of history it took me a while to realise that ‘Lomo’ actually refers to a camera, the Lomo LC-A, that has somewhat of a cult following. Characteristic photos from the Lomo LC-A have effects caused by light leaks, strong vignettes and rich, saturated colors. Often lomographers will shoot with slide film and cross-process to give strong color shifts. Take a dip into the Lomography photostream here.

While I mull over the purchase of an LC-A+ I’m going to continue playing with my iPhone. Read on to see how easy it is with the iPhone.

I am typically using Camera+ rather than the camera app that comes with the iPhone. Here is the image as shot. Lots of problems with this, my biggest criticism is that I should have been closer to crop out the sky and the trailer. You can zoom with Camera+ but be aware that it is a digital zoom – in effect you’re just using less of the sensor. If I have to crop I’d prefer to do it in software after the fact. I’ll admit that I think cropping is not a big deal particularly with my DLSR but is an issue with the small files that come from the iPhone, so try to get it right in ‘iPhone’ as it were.

The first step is to bring the file into PhotoForge and do some preliminary editing. Photoforge is a great app with lots of capabilities, curves, sharpening, cropping, textures, frames and effects and is one that I highly recommend. One of the neat things is that Photoforge has layers so you can work in a layer based manner if that is something that you’re used to. I generally am not using layers but I’m also just doing very simple edits. I will generally look at the levels panel and tweak there if I think the image needs it. In this case it didn’t a levels adjustment and so I moved on to add a bit of contrast using the curves function. I didn’t like any of the other tweaks that I might usually add and so I saved the file back to the photolibrary and jumped into Phototoaster.

I’m almost exclusively using Phototoaster now to add the Lomo effect. There is a Lomo effect in PhotoForge but it feels a bit washed out for my taste. I cropped the image to a square to remove the distractions and applied the Lomo effect which can be found …

I like the square but also wanted to see what else I could do. Here I didn’t lock the crop to a particular ratio and came up with this crop that I particularly liked and as before then added the Lomo effect.