A Visit from the Masters of Light

I was lucky enough to attend the flashbus boston stop recently. An amazing flash extravaganza, starting slowly with David ‘The Strobist’ Hobby and building to a crescendo with a live demo in the afternoon from the Dean of Flash Joe McNally.

I wasn’t quite sure what to expect or for that matter why I was even going – I rarely take photos of ‘people’ and when I do I’m not fluent enough with flashes to incorporate them into the mix. I’ve actually given presentations in the Long Wharf Marriott conference rooms but to a crowd smaller than the 250+ that were there to see Hobby and McNally perform. It was fun to have an opportunity to interact with Hobby before the event began – he worked the line of photographers laden down with all the gear they own as they waited to get the Adorama event band and associated goodie bag.

Hobby’s presentation was a walk through of a series of images to show how he builds ‘Layers of Light’ to get the look that he wants for a particular photo. I must admit that it actually made sense and seemed quite a logical approach to getting the photo.

I’d seen McNally up close a while ago now at the Acadia DLWS in 2007 that was just before the moment it clicks came out and his star as an educator began to rise.  Then he did a couple of on location small flash lighting demos that were quite impressive. In the Marriott ballroom he started quite simply with one light building to a finale photographing Bruce (an audience member) with 4 lights including a gridded snoot for Bruce’s impressive beard.

The day really was a firehose of information and someone more practical than I would probably be able to put it to good use. I feel like I need some further study. Fortunately both Hobby and McNally have supporting DVDs.  I have McNally’s and certainly recommend it (check out a clip here) and I suspect that Hobby’s 7 disc set would be well worth the money.

I think Zack Arias‘s one lighting workshops are also worth checking out. There are a couple of places to get these – the live workshop, the One Light DVD, and the CreativeLive workshop. Zack starts more basic than Hobby and his teaching style resonates with me more than Hobby and McNally. For me the progression should be Arias, Hobby, McNally although they all have something to offer for everyone.
Cleaning Your Gear

Oh my goodness, there are few things that irritate me more than realizing that I have huge tracts of sensor dust to deal with when I get back from a shoot.  The less time I have to spend tweaking my images the happier I am. Granted this is very easy now to deal with in lightroom or photoshop but I’d rather not have to deal with the problem at all.  I’ve taken to making shots of clear sky at the end of a shoot in the vain hope that I’ll one day figure out how to automate the removal based on the imperfections on an otherwise clean background.   If I ever figure that trick out I’ll share it here.  Until then I’m going to develop a more rigorous sensor cleaning routing.  I have no excuses really.  I have sensor cleaning products from visible dust, including the sensor loupe, arctic butterfly and sensor swabs to name but a few of the tools of the trade.  I question the utility of the arctic butterfly – I’ve never had this do anything other than make the problem worse.  The sensor swabs however are great and highly recommended.  Cleaning your sensor is not very difficult but it is a bit nerve wracking the first few times.  Visible dust have a number of videos that explain the process nicely.  I would also recommend taking a look at Moose Peterson’s website for his gear cleaning videos.  This is a comprehensive set of demos covering everything from cleaning lenses to sensors.

Finding your Focus

One of the ideas that I’ve been kicking around recently is whether it’s better to invest time in developing areas of weakness or to put those same hours into enhancing strengths.

I’m increasingly of the opinion that most people can learn to do most things if they are willing to commit the time and energy. Granted, some people may have more of an aptitude for one thing over another (languages aren’t it for me!) and so may not have to work as hard or as long to achieve a basic level of proficiency as someone who doesn’t have the same aptitude.

To get beyond that initial level of proficiency, to achieve mastery, requires a more significant investment of time and energy.

Mastery = time + commitment

It’s been said that mastery of a skill requires approximately 10,000 hours.  This is the equivalent of about 5 years working 40 hour weeks.  It sounds about right to me.  It’s about the length of a traditional apprenticeship or the number of hours that you would be expected to put in during a typical PhD, or MD training program.

So where to invest your 10,000 hours?  In some regards as an ‘amateur’ photographer I’m in a luxurious position in that I can spend time working on what appeals to me rather than developing a skill set that is going to meet the needs of ‘the client’.  In turn this means that I have developed a very lop-sided skill set, as I have focused on the things that appeal to me.  That’s not to say that I’ve been successful with all the subjects that appeal to me.  In fact one of the things that has helped, and continues to help, push me forward are portfolio review sessions with people that want to see me improve and will give me solid frank feedback.  These review sessions have helped me steer away from those subjects that regardless of how hard I try I end up making ‘record shots’, to allow me to focus on those subjects that truly resonate.  It’s taking some time and effort but I’m finding my focus.

Neutral Density Filter Systems for Wide Angle Lenses

There are a number of tips and tricks for landscape photography that I am slowly learning.  I understand the application of neutral density gradient filters and have been using them to balance bright skies with foregrounds.  I have been hand-holding the filter since it’s much faster and easier than using a filter holder.  As I begin to explore longer exposures, holding the filter for long periods of time without impacting the quality of the shot is a challenge.  Shooting with a wide angle lens, I experimented with a filter holder earlier in the year but was surprised when I got the filter holder in my shot.  It didn’t make sense to me since I knew that many of the photographers that I admire use one.  After some digging I found that my issue was with the size of the filters that I was using.  I had elected for the Cokin P system, although I was using Singh Ray filters.  The filters are 84 x 120 mm in size which means that this system is fine for lenses 24 mm and above, however it doesn’t work for the wide angle lens that I am favoring at the moment.  For that reason I am now exploring the larger 4 x 6 filter holder system from Lee.  I have the foundation kit on order from the good people at Samy’s Camera and I’ll share my experience with it in future posts.

Drawing to Improve your Photography

On a recent archeological expedition in the basement I came across my copy of Betty Edwards’s book ‘Drawing on the Right Side of the Brain‘ and the sketchbook that I had used for the exercises. It had been a while since I looked at the drawings and I must admit that I was surprised – they weren’t actually that bad. There were two exercises that stood out for me in the many that are in the book. The first was to copy a drawing that is shown upside down. Remarkably when you copy an image that is upside down you do a better job of capturing what us there than you do when the same image is right side up. Why? The exercise prompts a shift from the left brain, verbal mode of thinking, to the right brain, visual mode.  We become conditioned to name objects and to have a standard ‘symbol’ that represents the object rather than drawing what is actually in front of us. Having the picture upside down makes it difficult to recognize the image and so there is more likelihood that we will draw what is there than rely our symbol short-cuts. The recognition that we tend to rely on short-cuts rather than truly seeing spills over into photography.  I have wondered on more than one occasion whether using a medium format camera, where the scene before you is viewed inverted, would help advance my photography by removing the familiar, making me more reliant on graphic elements.

The second exercise that stuck with me was drawing a chair.  In this exercise, rather than draw the chair, you are guided to draw the space around the chair.  This is a great lesson in the importance of  negative space and how it defines the object of interest.  How negative space and the space occupied by the object of interest fit together within the boundary of the frame is fundamental to good composition.  Defining the boundary of the frame is as important in photography as it is in drawing.  While some may argue about the validity of cropping from the standard 2 x 3 format of the DSLR, it is unquestionable that some compositions would work better in alternate formats.

The drawing that I have been using to support my photography is the compliment to the writing that I have been working on.  My drawings roughly map out ideas for new photos that I have developed through some of the writing exercises. The drawings are not frameworks for future Photoshop constructions but rather ways to help me be prepared for what I may find when I’m on location.  While I may not find the exact drawings that I had imagined, they allow me to see opportunities where I may not have otherwise.

Virtual Scouting

I was recently describing my process of scouting locations to one of my friends and their response made me think that it would be worth sharing here.  My process is evolving but here is how I’m currently approaching things.

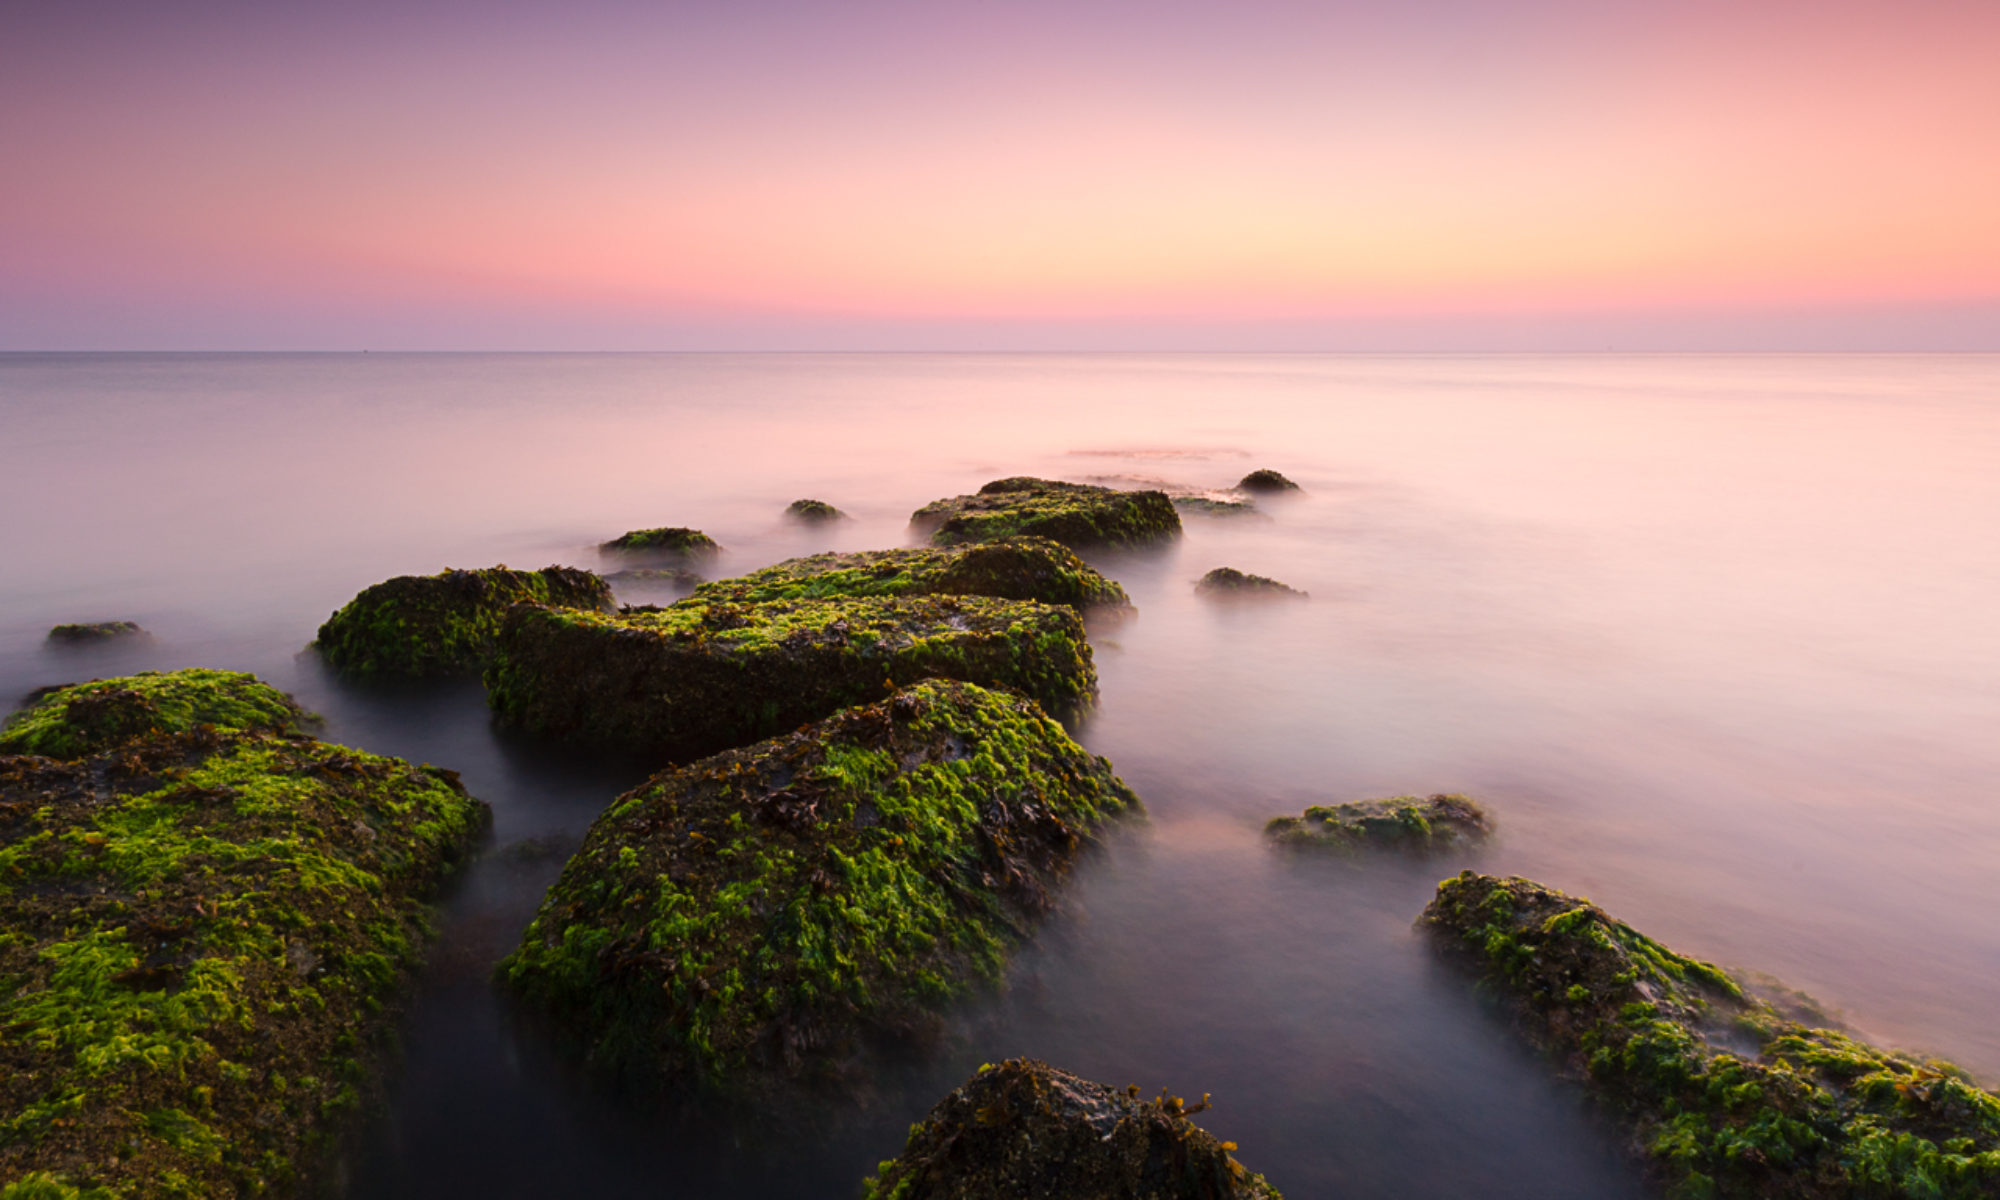
I’ve been working on a project to photograph rocks at the waters edge.  My first move was to find some places where there may be suitable rocks.  For this I turned to google maps in the satellite view and at a decent magnification scanned the coast line close to home. Here’s a screen shot from google maps:

Once I’d found a good location such as the one above I plugged the location into the photographers ephemeris an iPhone app.  The app lets me work out the location of sunrise and sunset.  I realize that I could probably use The Photographer’s Ephemeris to fill the same function as google maps, and I may well transition over at some point, but I feel like I have more screen real estate with google maps than I can have with The Photographer’s Ephemeris.  Here’s a screen shot to from the PC version of the Photographer’s Ephemeris that can be found here.

Since I’m dealing with the ocean I check on the tide table to see whether it will be high tide or low tide.  There are lots of resources for this information.  Because it’s handy I generally use the iPhone app Tides.  There may be better applications for this available but this is easy and it works for me.

Then finally I check the weather using either the 10 day or hourly forecast on the weather channel website.

I’ve tried winging it many times and I’ve had spotty success.  With the process described above I’ve had a little more consistent success.

Poke the Box Workbook

On the heels of the Poke the Box book comes the Poke the Box Workbook (click here to download it).  There’s lots of encouragement in this short (23 pages) workbook to start something and to help you develop the habit of starting.  You aren’t told that you need to jump right in and try to take over the world.  Instead there are a number of examples of small things that you can do today, such as picking the restaurant for dinner if you don’t normally do that or speaking up in a group, that will get you into the habit of starting something, of Poking the Box.

Poke the Box and the Art of Shipping

I’m a huge Seth Godin fan.  My first intersection with Seth was around 2000 when I came across his ‘Bootstrappers Bible‘.  It was around the time that he was ‘Unleashing the Ideavirus’, the marketing book that he gave away for free as a pdf.  For a cash strapped book fiend like myself this was awesome but at the time I missed the point totally.

With 10 more years on the tires I’m finally getting the point and even more so now that I am taking photographs and writing about that process here.  I think that many of us worry about having our work ‘stolen’.  For some this is more of a concern than it is for others.  I may be a contrarian but it seems that the worst thing that anyone who creates anything to share or sell to the world is not having their work stolen but not having an audience.  For no one to care what you’re doing.  Why not instead figure out how you can reach the broadest audience possible and do that?

Seth’s new book is called ‘Poke the Box‘ and is a riff on some of the themes and ideas that he has been pushing for the last few years.  Namely you have to get your product out of the door.  Starting is not enough, you have to finish too.  You have to ship!

For many this involves overcoming what Steven Pressfield calls in The War of Art ‘The Resistance’.  That overwhelming fear of failure, of being rejected, of humiliation after putting your heart and soul into a project.  Seth Godin refers to this a the lizard brain.  Our instinctive response to danger or fear.  One way of course if listening to what the lizard brain is saying to do and then doing the exact opposite.  It requires practice but becomes easier with time.

Seth was interviewed by Dane Sanders this week and the video can be found here.  As always, a provacative conversation.

Get ‘Poke the Box’.  Read it.  Read it again.  Figure out how you are going to make a difference and go do it!

Writing to Stimulate Ideas

Recently I pulled together a small portfolio of my coastal images with the intention of figuring out how to expand on the set.   Sometimes this is obvious, for me however it wasn’t clear in this case.  General advice would be to have a range of focal lengths, different light, different times of day, different weather, alternate view-point… the list goes on.  What I was struggling with was more foundational – what am I trying to say with this body of work, what is the major theme.  Many of the photographs in the portfolio weren’t taken ‘intentionally’ but were more my response to what was in front of me.  This of course makes it exceptionally hard when people review your images and say ‘that looks good do more like that’.  I didn’t know what ‘that’ was!

My solution was to spend 15 or so minutes describing my initial impressions of the images as a set.  I didn’t want to dwell on each image and be too thoughtful, but rather capture my initial impressions, very much like what I had done when I originally made the image.  This brainstorming session has been enormously helpful.  Not only do I now have a clearer idea of my intention but the brainstorming has also given me a list of potential new projects that would fit with my other work.  I also found the process enormously energizing.

A Breakthrough: Getting to the Why

What’s your question? We were having a round table discussion with the new head of the research institute.  This was what she had asked the person sitting closest to her, and now were going to go around the table with our answers.

What’s my question? I didn’t have a question.  I had a research project, but not a question. I eventually realized that what she wanted was to know about my research project and I survived the encounter.  As a student I was still at a point of developing an understanding of the tools and a perspective of the field to be able to ask a meaningful question.  It was another couple of years before I reached that point.

This episode came back to me recently when I was thinking about vision, voice and style. I’m getting to a point now where I feel that I can operate the camera reasonably well and occasionally make some images that I’m pleased with. I have a messy process but I’m getting there.  I now have the tools to be able to ‘ask a question’ or in essence to realize my vision.  For me, this is both fun and scary at the same time.  I’ve focused very much on learning how to operate a camera and the basic rules of composition, ‘the how’, that ‘the why’ didn’t enter into my thinking.  It’s hardly surprising really.  We are continually bombarded with technical articles and books and yet there are very few that focus on the why.

Why are the so few books that focus on ‘the why’?  Perhaps because ‘the why’ is much less tangible and less amenable to a cookie cutter approach.  That if you are to go beyond the obvious there needs to be an understanding of who you are, what resonates with you and how you wish to present that to the world.  This is where I find myself now, at the beginning of a new phase and very much looking forward to the journey.