Practicing at Practicing

Nixon_130515_4122-Edit

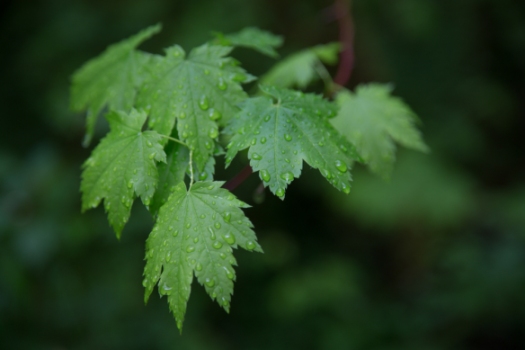
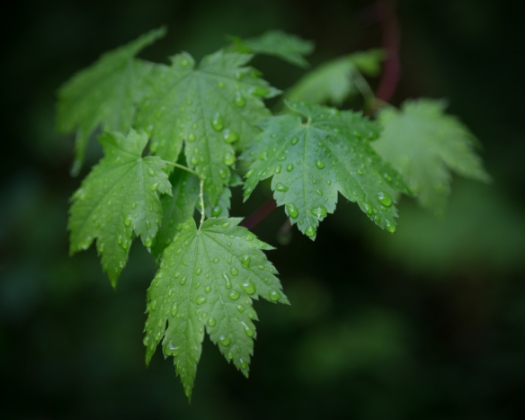
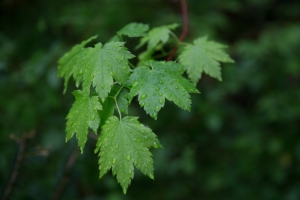
I recently upgraded my copies of Lightroom and Photoshop which of course brought with it the headache of making sure that all the plug-ins that I have for both programs were installed and working properly. In photoshop my plugins are ‘grayed out’ and unavailable to be fired up unless you have a photo open. So to solve that problem I opened one of the leaf pictures that I had intended on working on but hadn’t gotten around to it. I opened the leaf image and started OnOne Software’s “Perfect B&W’ plugin. I tried some of my favorite black and white presets. There are lots panels with lots of sliders that you can use to further tweak the image. One panel that I wasn’t familiar with was the ‘blending’ and so I spent some time playing with the various options and was surprised and pleased to discover that using the overlay mode gave me the image above. I liked it so much more than the image I started with which is below.

Nixon_130515_4122-2

Could I have gotten there with just Lightroom or Lightroom and Photoshop? Maybe… I realized that the image out of the OnOne plug in had a vignette (easy to do in Lightroom), and was a bit crunchy – had either a lot of contrast or clarity or a combination of the two added.

Adding a vignette was easy – I generally use ‘Post-Crop Vignetting’ and dialed in -33 using the highlight priority option in LR5.

Leaves_Vignette

Cruchiness wasn’t so easy. I thought that clarity would give the effect that I was looking for. Ramping clarity up to 100% gives the crunchiness I was looking for but there’s still something missing.

Leaves_Clarity

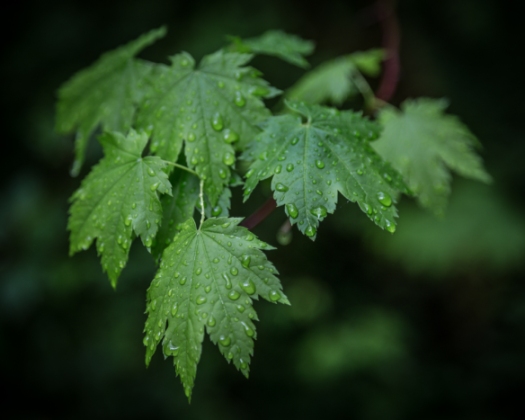
Adding a strong constrast curve gets us closer but the image is too green.

Leaves_Contrast

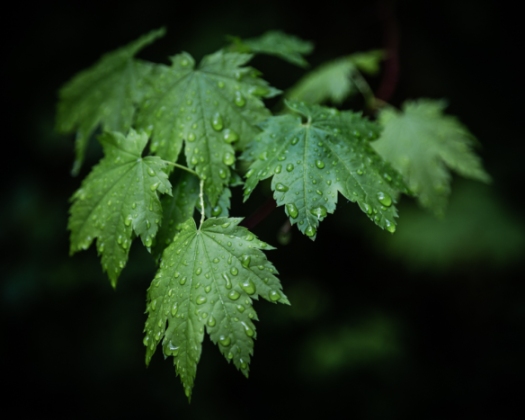
Finally desaturating a little using both saturation in the Presence panel and also the green slide in the HSL panel gives the image below.

Leaves_Desat

A vast improvement over the original and I like it better than my target image. I found this to be a useful exercise in exploring the power of Lightroom which I’m sure will come in useful.
Focus Stacking to Extend Depth of Field

Nixon_130516_4876-2
I thought that focus and depth of field were pretty simple. For things where you want to blur the background, focus on the subject, use a low F number (f4 or lower) and you’re good. For flat planes or things that are far away, focus on the subject and use a mid F number (f8 ish). For the grand landscape shot where you want front to back in focus, focus a third of the way into the scene and use a high F number (f22 or above).

This is probably as much as you really need to know to make very good photographs. However, like many things that seem to be simple, if you want to pick away at this and go deeper you can.

In the case of depth of field the only thing that is in focus in your photograph is that which you focused on and everything else on that plane. The rest of the stuff in your photograph that you think is in focus is actually ‘acceptably’ out of focus. For medium and large format cameras, cameras that have ‘movements’, that allow you to tilt the plane of focus this means that you really can get front to back focus, this is an application of the Scheimpflug principle. Those of us using DLSRs are out of luck unless we have a tilt shift lens that will allow you to do the same thing.

So, how to get front to back focus? Easy, take multiple images with different focus points and then blend them together in Photoshop to get what you want to be in focus, in focus. For this kind of shot rather than set the lens to f22, I would recommend that the f stop you choose be the one at which the lens you’re using is optically the best. As a rule of thumb this is usually 2 stops away from wide open, so for an f4 lens this would be f8.

So you’ve taken your shots – in this example I was exploring rain drops on some maple leaves. The images were shot at f4 to blur the background. In one image I focused on the front set of leaves and in the second I focused on the back leaves. Click on the images to see them larger.

Nixon_130516_4875 Nixon_130516_4876

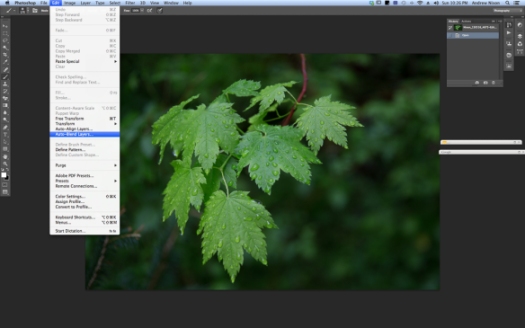
The first thing to do is to open the images in photoshop and load them into separate layers. Once you’ve done that you can then go to the edit menu and select auto-blend layers:
Nixon_130610_

then stack images in the dialog box that appears next.

Nixon_130610_-2

This gives the blended image with good depth of field from the front to back leaves.

Nixon_130516_4875-Edit

A bit more photoshop to remove some of the distracting elements to give the final image.

Nixon_130516_4876-2

Fall Color Lomography

20111024-140009.jpg

As I mentioned earlier in the week, my attempts to head north for some fall foliage photography this year have been thwarted. Instead I’m making the most of the local color using both my regular DSLR and the iPhone. I am working up a set of iPhone photographs made using the lomography workflow I described in a previous post. I’m not sure where I’m going to go with the project but I’m having fun and starting to develop an idea about how the photos should look rather than relying on what the presets give me. Often this means that I’ll initially process the image and then as I live with the original processed image for a while I’ll find things that I want to change. This was certainly true of the image above that was taken just in front of my house. This image is now into the third iteration of edits. I’m finally liking it as it is, although digital editing means that it is way to easy to go back and tinker some more.