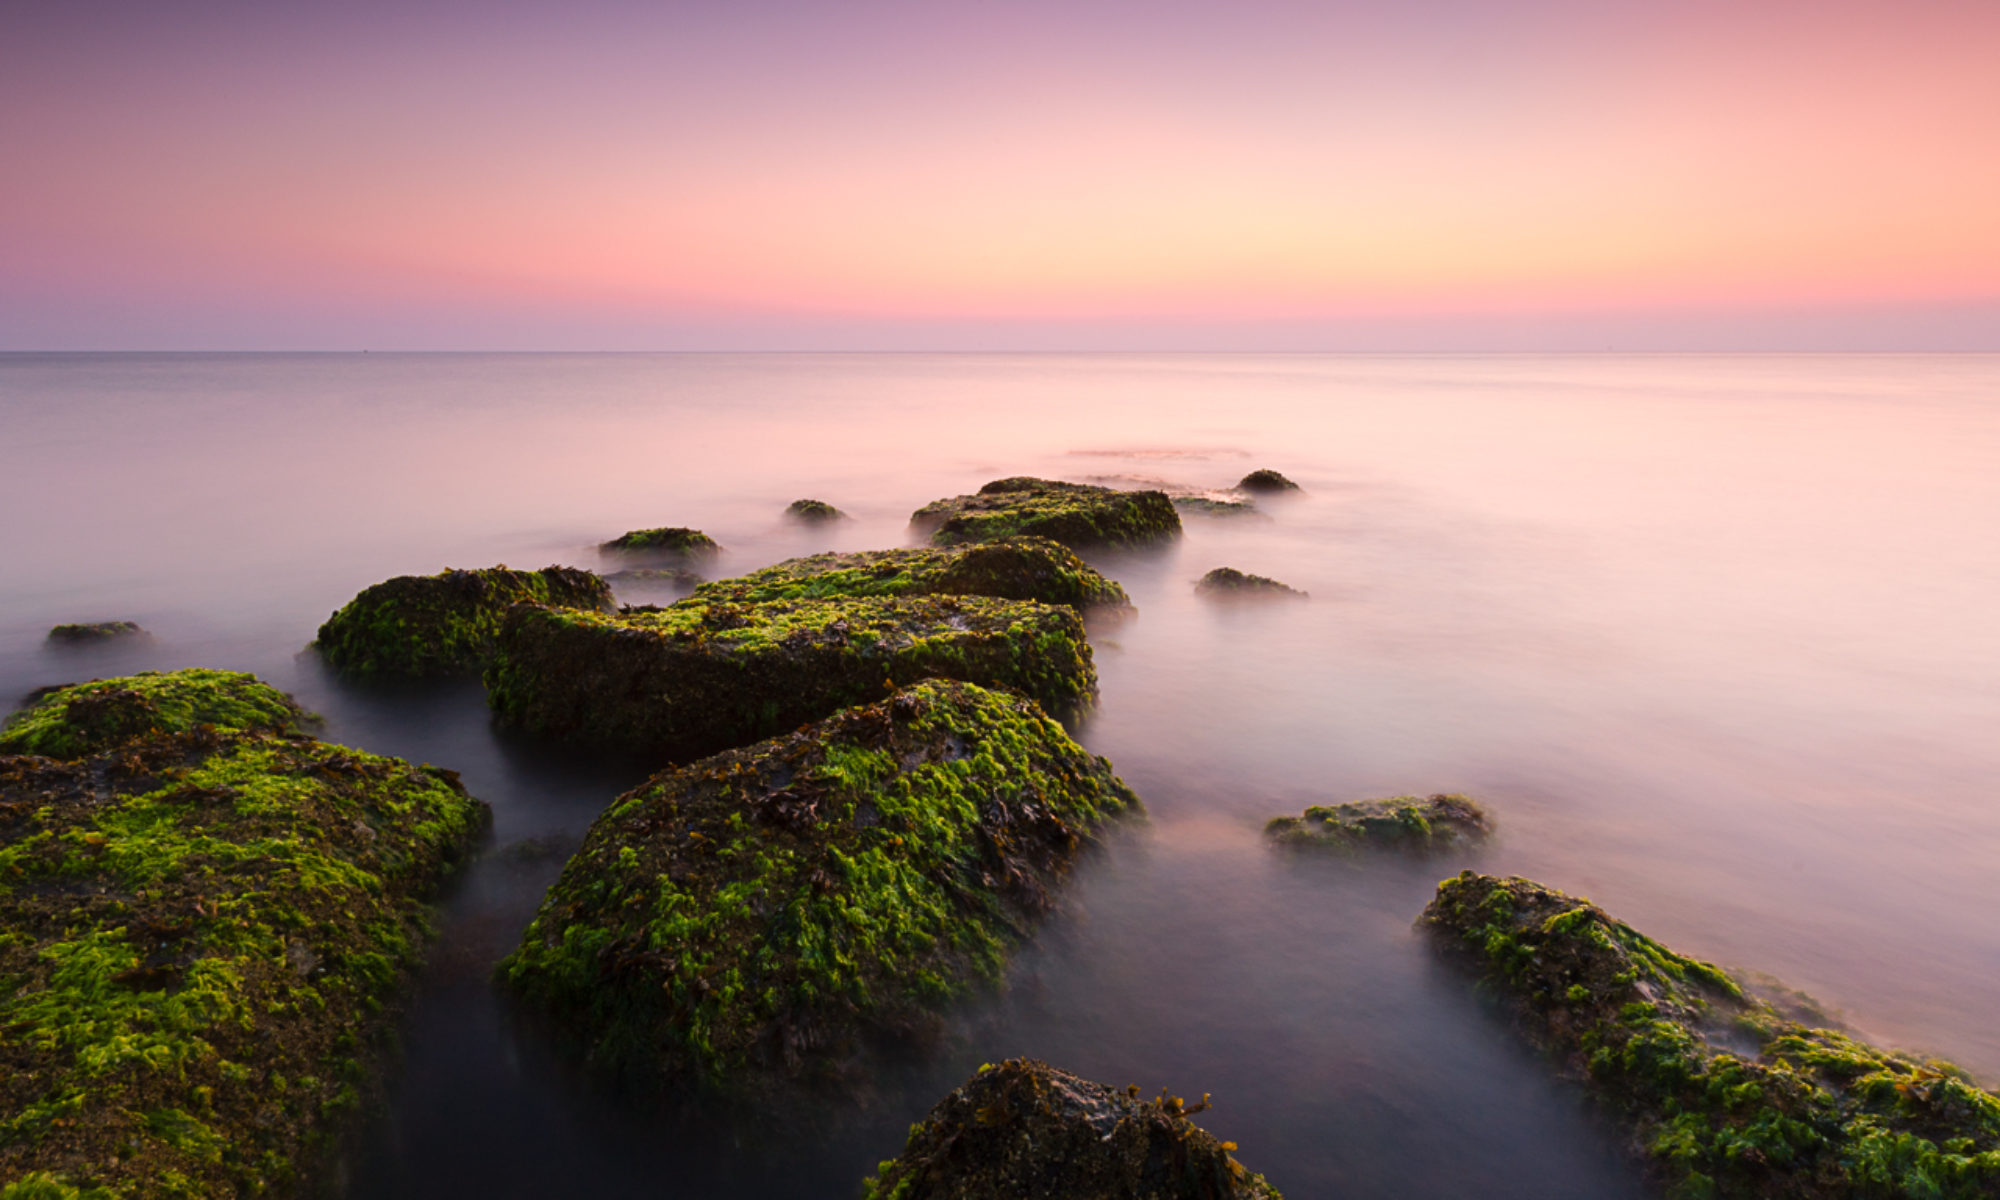
I thought that focus and depth of field were pretty simple. For things where you want to blur the background, focus on the subject, use a low F number (f4 or lower) and you’re good. For flat planes or things that are far away, focus on the subject and use a mid F number (f8 ish). For the grand landscape shot where you want front to back in focus, focus a third of the way into the scene and use a high F number (f22 or above).
This is probably as much as you really need to know to make very good photographs. However, like many things that seem to be simple, if you want to pick away at this and go deeper you can.
In the case of depth of field the only thing that is in focus in your photograph is that which you focused on and everything else on that plane. The rest of the stuff in your photograph that you think is in focus is actually ‘acceptably’ out of focus. For medium and large format cameras, cameras that have ‘movements’, that allow you to tilt the plane of focus this means that you really can get front to back focus, this is an application of the Scheimpflug principle. Those of us using DLSRs are out of luck unless we have a tilt shift lens that will allow you to do the same thing.
So, how to get front to back focus? Easy, take multiple images with different focus points and then blend them together in Photoshop to get what you want to be in focus, in focus. For this kind of shot rather than set the lens to f22, I would recommend that the f stop you choose be the one at which the lens you’re using is optically the best. As a rule of thumb this is usually 2 stops away from wide open, so for an f4 lens this would be f8.
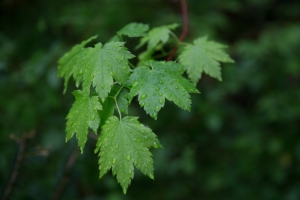
So you’ve taken your shots – in this example I was exploring rain drops on some maple leaves. The images were shot at f4 to blur the background. In one image I focused on the front set of leaves and in the second I focused on the back leaves. Click on the images to see them larger.
 |
 |
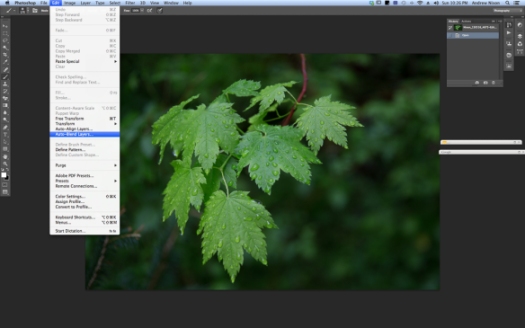
The first thing to do is to open the images in photoshop and load them into separate layers. Once you’ve done that you can then go to the edit menu and select auto-blend layers:

then stack images in the dialog box that appears next.
This gives the blended image with good depth of field from the front to back leaves.
A bit more photoshop to remove some of the distracting elements to give the final image.


