
There’s nothing that frustrates me more than being prevented from making the photographs that I have in my head than gear that doesn’t perform as expected or fails in one way or another.
While I’ve been in Japan I’ve been using my normal collection of ND filters but also experimenting with the Big Stopper. My usual approach to photography is to make exposures that I can then use to recreate the feeling that I had when I was there. Although much of my post-processing work has previously consisted of a few trivial moves in Lightroom, it is increasingly becoming a more substantial amount of work in photoshop.
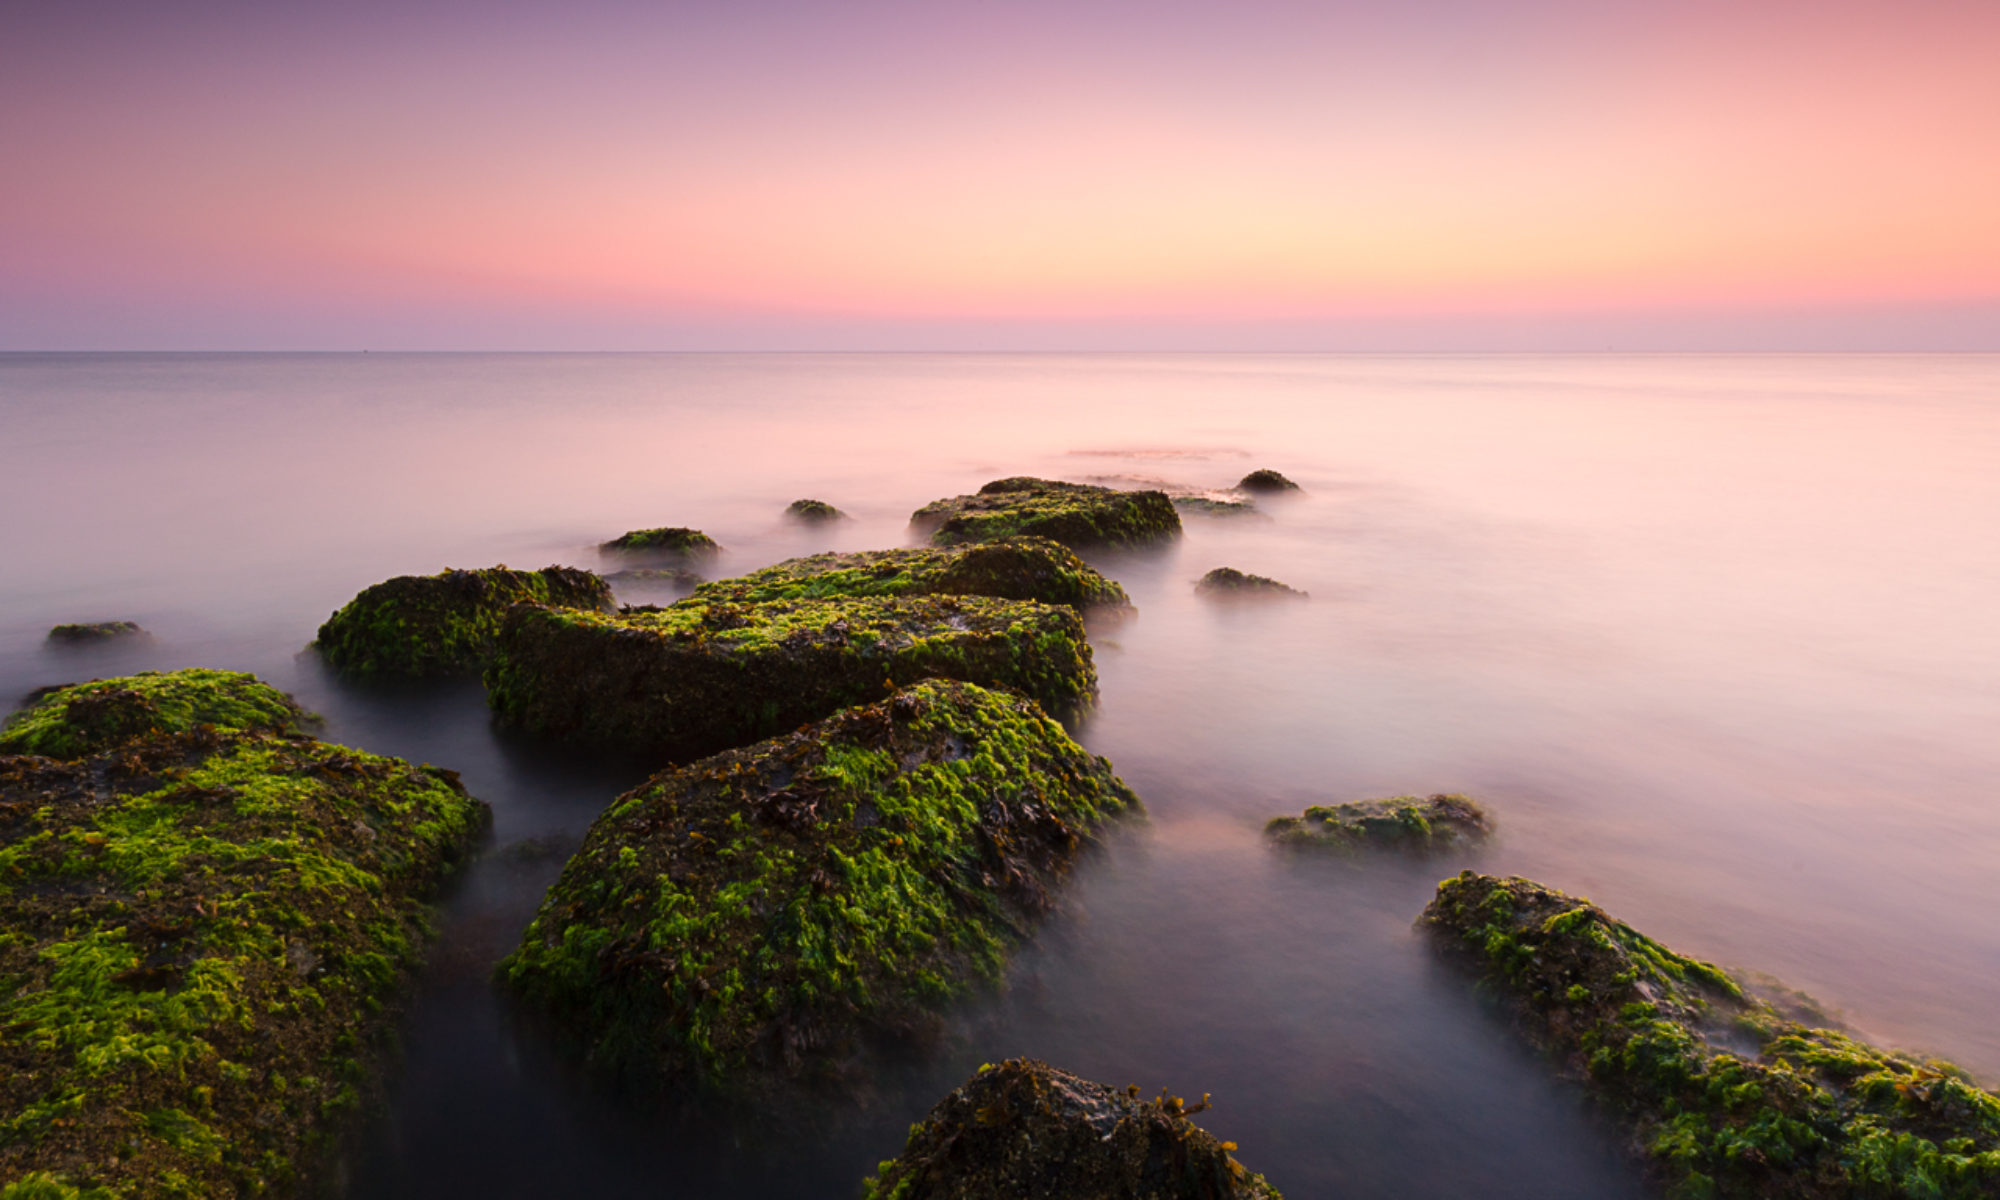
For shooting moving water at the coast specifically I try to have the shutter speed be around 2 or 3 seconds, which is generally long enough to blur the water substantially while still retaining a sense of movement. At sunrise or sunset getting the right shutter speed is a matter of playing with ISO and f-stop, as it gets lighter and I can no longer decrease the ISO I will generally add a 3 stop neutral density filter. On this trip I’ve also been adding the Big Stopper into the mix to get even longer exposures such as the one above which was a 2 min exposure.
To make an exposure that is well exposed for the sky and the ground (or water in this case) I may use a graduated ND filter or take a bracketed set of exposures or both. I’m essentially collecting the raw materials to make the image later and not being stuck on getting ‘it right in camera’.
I have been using the 4 x 6 in filters from Singh-Ray, specifically the 3 stop ND filter and the Galen Rowell 3 stop soft ND gradient filter in a Lee filter holder. The filter holder attaches to the lens by means of a screw in adaptor ring.
Here’s where the fun began – I have UV filters on all of my lenses to protect them from the salt spray that I inevitably get covered in when I’m at the beach. We could argue about the value of those filters some other time and I will provide an argument below why I shouldn’t be using them. What I managed to do was to get the filter holder adaptor stuck on the UV filter of one of my lenses making it very cumbersome to use the filter system on any other lenses – not impossible just cumbersome. And annoying…
I tried all kinds of things to get the two separated, wearing rubber gloves so that I could get a better grip, putting a rubber band around the UV filter to help me get a better grip, heating with a hairdryer, all to no avail. At the suggestion of one of my new best buddies to warm up the UV filter by holding it and by doing so expand the UV filter slightly I did the following:
- cooled the UV Filter/Filter adaptor pair by putting it in a cold draft, essentially on an outdoor window sill
- sat the UV Filter on something warm, in this case my bare arm, taking care not to touch the upper adaptor ring, until it didn’t feel cold any more
- put a rubber band around the UV filter
- put on my rubber gloves and twisted
The whole thing then came apart with a little bit of effort. I was stunned given that I’d been trying for a couple of days to separate them. File this away in case you ever find yourself in the same predicament.
On a wide angle lens I will usually see substantial vignetting that results from the filter adaptor being stacked on the UV filter. In the past I’ve gotten away from this problem by hand holding the filter and not using the holder. Inevitable this means that I scratch the resin filters and move during the longer exposures or screw the shot up in some other way which is why I’ve started using the filter holder routinely. After a bit of experimentation while I was here I realized that if I take the UV filter off the lens then the vignetting goes away. The lens of course is still protected by the ND filter and all is right in the world. When I’m done with the filter holder I’ve been putting the UV filter back on the lens but can imagine that I will soon ditch the UV filters completely.
