On the Road Again

2015/01/img_0005.jpg

I’m traveling again this week which is unfortunate on a number of levels. I’ve been pursuing a winter tress project over the last couple of years and have been looking forward to extending that project this winter. Unfortunately we’ve had very little snow so far this winter. It looks like that is about to change in spectacular fashion when Juno passes through the area later today and tomorrow.

We’ll see what that does to my travel plans!

Stormy Shores

IMG_2104-0.JPG

We’re getting ready to pack up and head out for the Christmas holiday here.

Hope you have a good holiday, see you on the other side.

Light, Lines, Moment – Light, Gesture, Color

I truly enjoy looking at other people’s images, mine drive me nuts, other people’s work I enjoy. It doesn’t matter to me whether they are photographs, paintings, drawings or some other way of interpreting the world. I enjoy looking at it all. As I’ve mentioned here before, I do feel as though in some work I’m missing the joke and so I’m working hard to be able to see more, to understand more clearly what was the intent behind the creation of the image.

This of course cuts two ways – it allows me to enter more deeply into the world that creator of the work has established and it also gives me tools to help bring my vision and voice into the world. In thinking about how I look at images – what is the light, how do the lines work, what is the role of color etc. I was reminded of some of the phrases that I’ve heard thrown around when people are both making images and looking at them. Variations on light, lines, moment such as Jay Maisel’s Light, Gesture, Color.

Since I’m easily distracted, with this thread to pull at I disappeared into the internet only to find that Jay Maisel has a new book out ‘Light Gesture and Color‘. I’ve been fascinated with Jay’s ability to find photographs in the most mundane places. After watching some of the videos of him at work such as the one below and looking at the resulting images I always feel that I could try harder.

This is the fluency that I am striving for – to not only be able to take to see and appreciate the image once captured but to see and anticipate the possibilities all around me.

Autumnal Wanderings

IMG_1873.JPG

I’m sure that there must be really good uses for the various film emulation software that is available, matching the look of a project that was started in film and transitioned to digital might be one, but for me they are not much more than very expensive presets that let me try out various looks very quickly.

I can’t say that I’m overly sold on the ‘film look’ either but it’s fun to play and occasionally I stumble into something that I like. I think the more that you play with these kinds of tools the more that you’re able to imagine what the possibilities are for processing after the fact.

While I would like to think that I know what a particular lens will do, I’m a long way from this kind of fluency with the myriad of options available for post-processing. Knowing what draws you and and what repels you certainly is one way of narrowing the available options. Restricting your options to a distinct palette of tools is one way to create a signature style. This is something that I’m in the very early stages of working on but I’m having fun thinking about how it all fits together.

Friday Inspiration: Wynn Bullock

831.624.2801 c. 1960

I’ve been working through how to give meaningful feedback to other photographers about their work and in the course of that I realize that our reaction to work tells us more about ourselves and less about the photographer. That was certainly the case with my initial intersection with Wynn Bullock. Bullock is generally regarded as one of the most significant photographers of the mid-twentieth century. He was a close friend of West Coast photographers Ansel Adams and Edward Weston and a peer of Minor White, Aaron Siskind and Frederick Sommer. I remember seeing his famous photograph Child in the Forest from the 1955 Family of Man exhibition curated by Edward Steichen and dismissed him as not doing something that I was interested in.

I was recently given a copy of ‘Wynn Bullock: Revelations‘, a comprehensive look at his entire body of work that was produced to support the exhibition now showing at the High Museum of Art in Atlanta, Georgia. Of course there are a good number of nudes included in the book which was where he was as a photographer early in his career but then there are a large number of images such as the one above that reflect his interest in how to represent time in a still image. There are a large number of abstract color images that I also find very interesting.

In listening to the interviews with Bullock below much of what he has to say about his photographic explorations resonated with me. Well worth a look.

Conversations With The Masters, rare interview with Wynn Bullock. This interview was conducted by Steve James of the Eikon Gallery

This video highlights excerpts from the 1975 film by Thom Tyson, Wynn Bullock: Photographer.

Friday Inspiration: Doug Eng

Offering

One of the things that I continue to struggle with is ‘why do I photograph’?

There are of course many reasons to photograph, having your photography being in service of something larger is awesome, being able to tell stories with your images and to capture a moment in history is clearly important.  Doug Eng is someone who does this incredibly well.

Doug is a Florida native with a background in structural engineering and software programming who works in both the natural and urban landscape. In fact some of his projects have involved bringing the natural landscape into the urban environment.

For an example of this work check out the ‘Beyond the Facade’ project where Doug installed huge prints on the east facade of the old Barnett Bank building. The behind the scenes section (click here) gives a fascinating look at how art on this scale is created and handled.

I was fortunate to recently hear Doug present his project ‘On Fertile Ground’ which captured images of the last property of his family’s truck farm providing a record of his family’s successes for future generations. I was profoundly impacted by these photographs, they made me really feel that the farm stopped while the world moved on.

I came out of Doug’s presentation thinking that everyone with a camera, which means almost all of us now, should spend some time documenting their family history.

‘On Fertile Ground’ is currently on show until December 5 th, 2014 at the Lufrano Intercultural Gallery. Check out the video of Doug describing this project below.

Crates and Barrels

Tripods – Care and Maintenance of the Three Legged Beasties

Nixon_140928_2373

I was working on my project “Everyday Objects’ this weekend and shot the image above of what I believe is a wasp’s nest with my newly renovated tripod.

In reading about how to care for and maintain your tripod I actually went and read some of the manuals that are supplied with Gitzo, Really Right Stuff etc. style tripods. Not something that I would normally do being the type of person who shuns manuals in favor of a more intuitive exploration of the functions of a new piece of gear. You should have seen me trying to start the rental car in Iceland – but that’s a topic for another day.

Really Right Stuff tell you that ‘Sand and saltwater are your tripod’s worst environmental enemies.’ About half, if not more, of my tripod use is at the beach so it’s hardly any wonder then that my tripod finally started to complain recently after many years of good service.

Carbon fiber tripods such as my old Gitzo 1325 are generally simple to look after and should last for an exceptionally long time. I’d hoped that I’d only have to buy one tripod which now seems like wishful thinking but a few simple precautions should keep your tripod in good shape.

General Cleaning

Wipe down the tripod legs with a damp cloth to remove mud, sand and salt water. Dry the legs off before collapsing.

Check all metal fittings for signs of corrosion and replace as necessary. Spare parts should be available from the manufacturer. Here’s a pdf of the parts for my 1325 tripod to see how it breaks down. The Gitzo Service Center can be found here. For old tripods spare parts can be a pain to find. It pays to anticipate future needs!

Disassembly

Disassembly and a more thorough cleaning is recommended after immersing one or more of the leg joints in water and getting water up inside the tripod legs.

This is a case of do as I say rather than do as I do. Although I’m sure if I followed my own advice I would have had less problems over the years.

Water, mud, sand or saltwater inside the legs causes a number of problems, including :

  • initiation of corrosion on some of the internal parts that is difficult to diagnose until too late
  • causes the bushings to swell making it difficult to open the tripod legs

Taking the tripod apart is remarkably easy even though I was convinced that I would break the whole thing if I attempted it. While the process described here is for the Gitzo 1325 from digging around it looks as though most of the equivalent tripods from other manufacturers come to disassemble in a very similar way.

Things to have on hand during disassembly:

  • Spare bushings if you’ve been having problems
  • Shop rags or paper towels for clean up and drying the legs.
  • WD-40, used sparingly this can cut through the muck on even the most sadly neglected of tripods.
  • An old tooth brush is handy to clean grit and grime from the tripod collars and threads.
  • A good lubricant for the nicely cleaned threads. I used Lanocote because I had a tub handy.

Here’s the lower section of one the legs:

IMG_1706.JPG

Diassembly is simply a matter of unscrewing the leg collar all the way until it releases as shown here:

IMG_1707.JPG

Hopefully you can then just pull on the leg and it will smoothly come free (- or not if you read my previous post on my disassembly efforts):

IMG_1710.JPG

The carbon fiber bushing appears to sit under the join of the two legs and is compressed as you screw the collar tight, holding the leg where you’ve set it. You can see where it normally is in the picture above.

The plastic guides keep the leg centered as it slides inside the fatter leg above. The plastic bushings were particularly salty but cleaned up nicely as shown below.

IMG_1709.JPG

If you look carefully you can see that the salt build up has caused some wear of these guides. I also found that it could be tricky to get these guides to sit in groove in the tripod leg properly after removing them for cleaning. This was easily fixed by compressing them as shown below.

IMG_1703.JPG

This compression was sufficient to close the gap that you can see in the upper guide which meant that the guide seated more closely into the groove on the tripod leg making it easier to reassemble the leg.

Getting everything back together is simply a matter of reversing the process. It’s relatively easy to do, although it might take you the best part of an evening to clean up the entire tripod or longer if you have to deal with stuck leg joints as I did!

Good luck and let me know if you have any suggestions.
Trouble with Tripods

Nixon_140818_9005-Edit

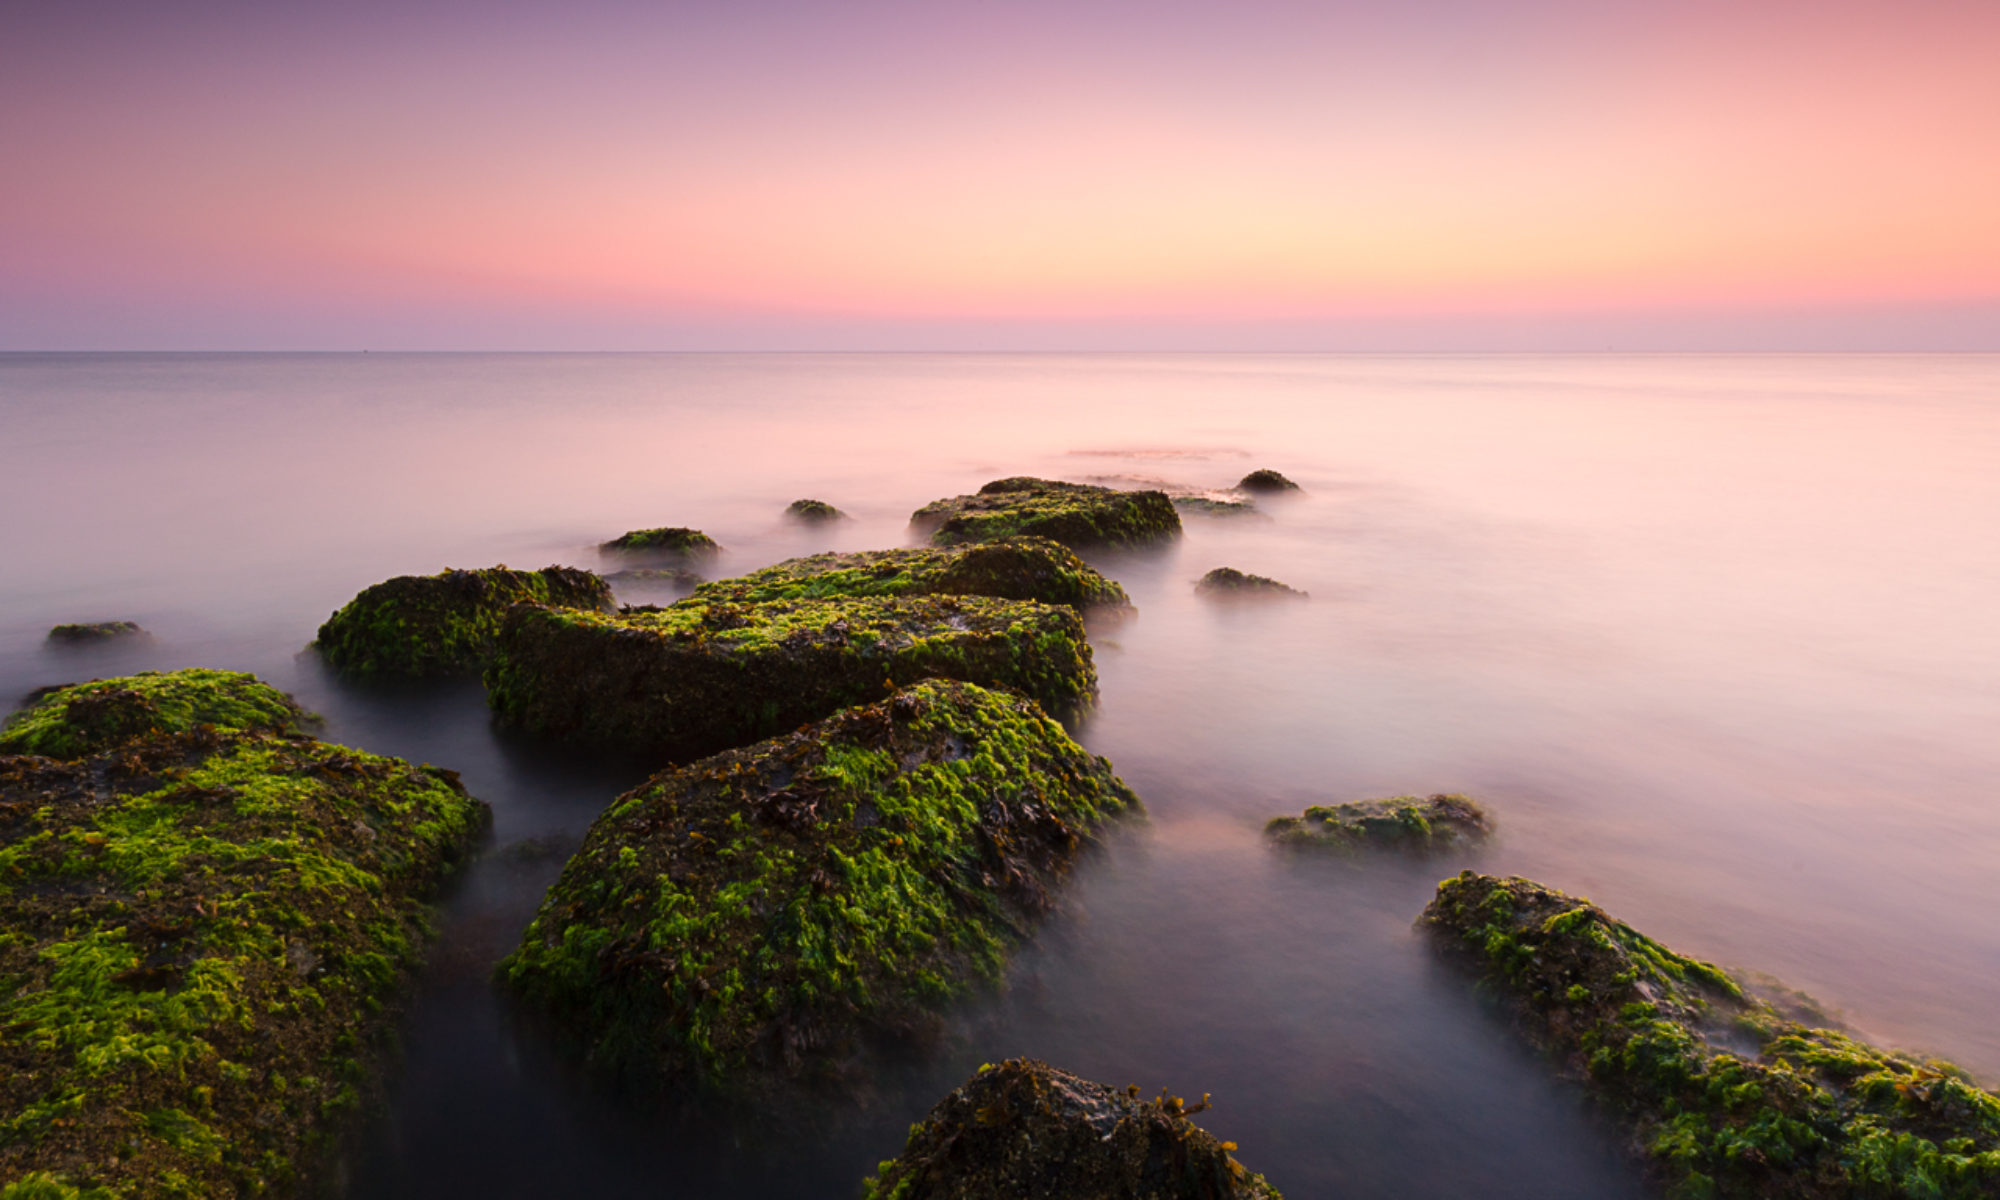
As I was setting up my tripod for this shot this summer as I collapsed, de-telescoped, closed or whatever you call it, one of the legs the rubber foot shot off sending me scrambling to find it. Luckily I did! The glue had finally given up on the Gitzo 1325 legs of my tripod. Not bad after taking a beating for 8 years. I got a two part adhesive and glued it back in place and my tripod problems were over. Or at least I thought my tripod problems were over.

When I was using the tripod this week one i found that one of the legs was impossible to fully extend. Years of neglect had finally come home to roost. Photographing in and around the ocean means that your gear takes a pounding. Ideally you would rinse the salt water off your gear with fresh water. There are obvious problems doing that with cameras and lenses but you can and should do some clean up of your gear with a soft damp cloth after you’ve been out. I do this as needed after every shoot but I’ve never properly cleaned my tripod. This has largely been out of fear of getting the tripod to pieces and not being able to get it back together again.

I actually found that taking the tripod to pieces was much easier than I’d expected. On the old Gitzo that I have it’s simply a matter of unscrewing the leg lock the whole way and then pulling on the leg. The one that was stuck needed me to stand on the head of the tripod and then yank hard on the leg. Eventually it yielded to force! While the tripod was in pieces I took the opportunity to clean up the threads both on the leg and on the screw lock. The leg locks had been making awful grinding noises for years, presumably from sand and salt getting in there. This was easy enough to do with a rag for the legs and a toothbrush to get into the locks. As an aside I had always been taught to extend the tripod fattest section first, which of course meant that the lower section lock ended up under water the first time I used the tripod at the beach. While this advice is generally sound I typically have the lower section extended the width of my hand – about 4 inches – and then when working at the beach this is the first section that gets extended.

At the top of the tripod legs I found 3 bushings – two plastic and one that could easily be carbon fiber. Trying to get the legs back together was a little tricky and after a little bit of trial and error I realized that it was the plastic bushings causing the problems. I took these off the tripod and wound them into a tighter circle and then when they went back on the tripod the plastic stayed in this tighter configuration long enough to allow me to reassemble the whole thing relatively easily,

It was quite an educational process and easy enough that I could have been doing regularly all along!

Black and White: 2014

Nixon_130217_0989-Edit-2

I was pleased to find out recently that the image above ‘After the Storm’ was selected to be included in the on-line annex portion of the Black and White: 2014 exhibition at the Black Box Gallery in Portland. The show opens Friday Sept 5, but images are up on the web now.

This is one of those images that almost never was. There are times when I ‘see’ images that I have to make even though they don’t fit follow the ‘rules’ of photography. In fact, depending on how quick or slow I am there is an internal battle that happens prior to taking the photograph that argues whether this image is interesting and why and whether I should even bother. If I’m fast enough I just take the shot and move on. If I’m too slow, fiddling around with a tripod, getting the right lens etc. there’s time for the doubts to start to take hold. With time, I’ve learned to listen to the doubts, acknowledge them and then take the shot anyway.

Resources for Photographing in Iceland

Nixon_140622_4215

Many of us experience new places to photograph in the context of workshops or tours. In those cases there’s often little forethought or planning needed. You book the trip, bring your gear and photograph. Making the most of a trip that you organize for yourself can take a little more work. Here’s the process that I typically use applied to a trip to Iceland.

What have other photographers made of Iceland?

Looking at what photographs others have made can be a touchy subject for some. I know some people who don’t want to be contaminated by the work and ideas of others and prefer to go into a location ‘cold’, which they believe positions them better to make original images. I want to know what the cliche images are for a particular location, what the postcard shot looks like. I know that I’m going to be drawn into making the obvious photograph and accept that, take the photograph and then try to push beyond it to make something that is my own.

For Iceland I looked at the work of Hans Strand, Bruce Percy and Josef Hoflehner. This is obviously a very short list. Who else would you recommend?

Finally spending some time on Flickr could also be instructive. You could also connect with local photographers and ask for advice regarding locations, weather conditions etc. this kind of local knowledge can be invaluable.

What are a selection of potentially interesting locations?

From looking at the work of others I’m looking for locations that look like they have potential for the kinds of images that I like to make and then looking for where these places are on a map. I’m a big fan of large scale paper maps that I can lay out on the living room floor, but you might prefer google maps. For Iceland there’s a great paper map for photographers and an accompanying eBook (eRoadbook). I’m not sure what the map is made from but paper doesn’t do it justice, perhaps a tyvek like paper? In any case it’s very resilient, and waterproof ideal for taking with you on a trip to Iceland.

How to connect these into a workable itinerary?

With a list of places to visit how best to connect them? For me this is the most attractive part of making up my own schedule. I’m not going to be jollied along from one place to the next to the next without having an opportunity to explore each location. Again I don’t think that there’s a right answer here and my bias is obviously showing through. I like to visit and revist locations to learn about a place and how best I might photograph it. Being rushed from one spot to another doesn’t work for me. How do you prefer to work?

General travel logistics?

For general travel planning I use all the resources that the internet has to offer. I will also spend a lot of time with the Lonely Planet and, if they cover where I’m going, the appropriate Moon travel guides to where ever I’m going.