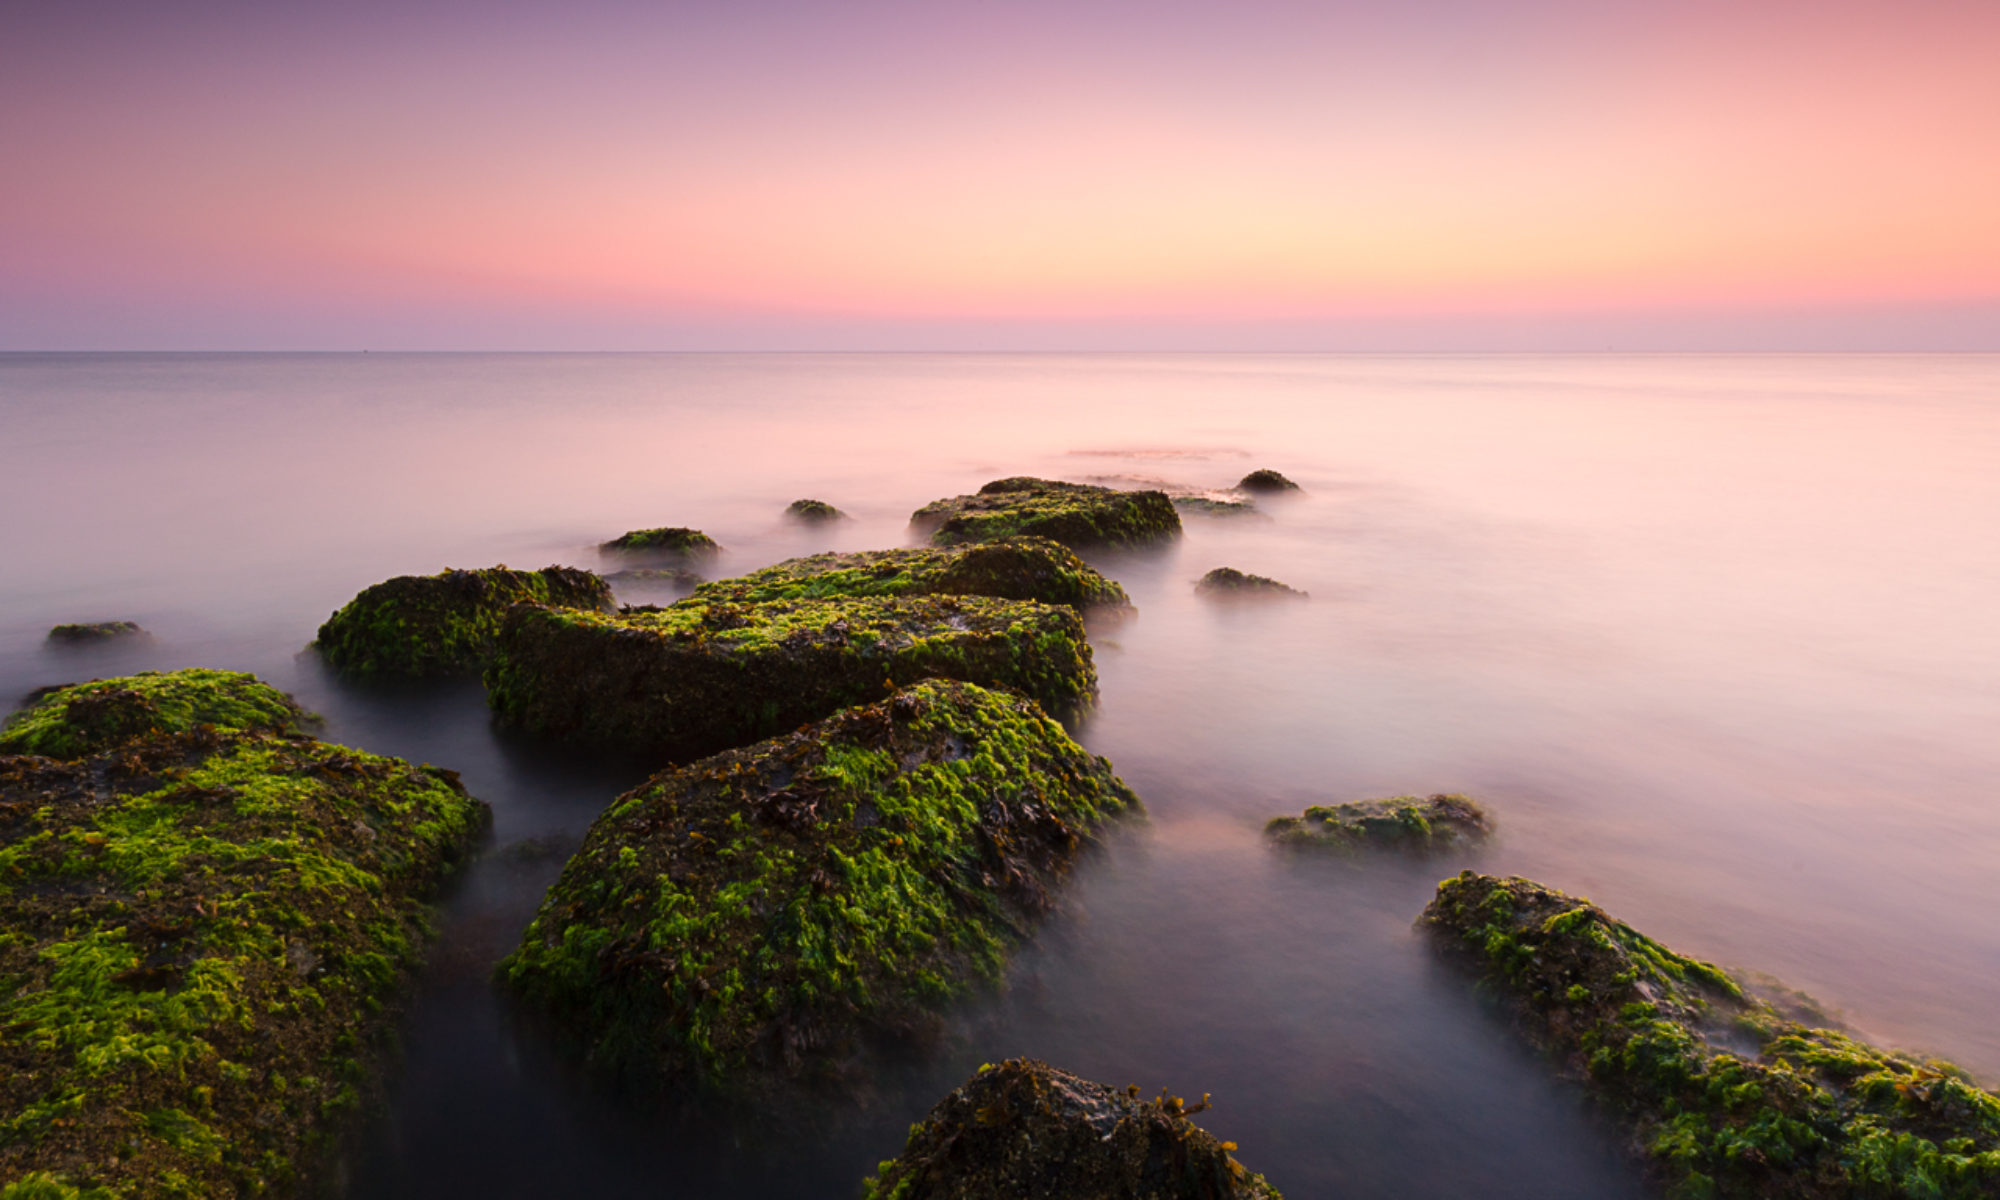
Rare are the days when the photograph that pops up in lightroom is close to what I had imagined it should look like and a few tweaks and I’m done. More common are the times where I have some playing to do in lightroom and then photoshop but I know where I’m heading and then there are those images that I just wonder what I was thinking. Believe it or not, the image above started out in this last category.
The image out of the camera is shown below.
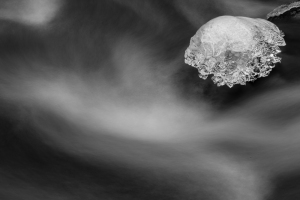
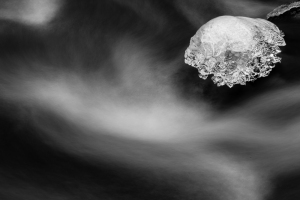
After a few moments of not really knowing what to do with it I started clicking through the presets built into the develop module. I haven’t been a big fan of presets preferring to know exactly what slider I was changing and why. Clicking around though it quickly became apparent that this photo should be black and white. The five built in presets gave the following ‘looks’.
 |
 |
| Look 1 | Look 2 |
 |
 |
| Look 3 | Look 4 |
 |
|
| Look 5 |
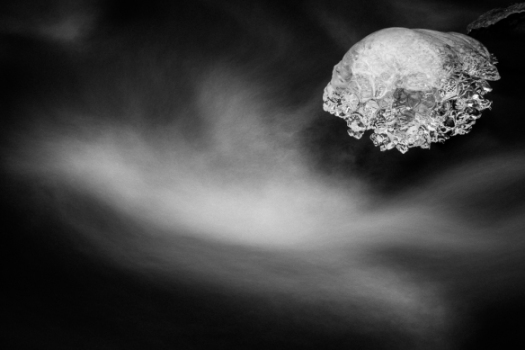
I liked looks 2 and 3, with not a lot to choose between them for me. I chose version 3 as a starting point and made it a little darker and a little grainer. The image below was the result.
A little bit more clean up and I was done. I must admit that this experience changed my outlook on presets. They’re great starting points, to be pushed further or dialed back, and invaluable to get a quick sense of what different processing could do to your image. Even better if you make your own and share with friends.


This is beautiful!
Many thanks. I truly appreciate the encouragement.