You Keep Shooting

Nixon_130517_5940-Edit-Edit

If you’ve ever watched any of Brian Peterson’s short photography instruction videos then you’ll recognize the tag line in the title of this post.

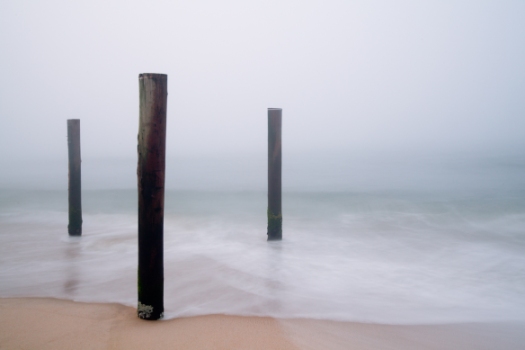
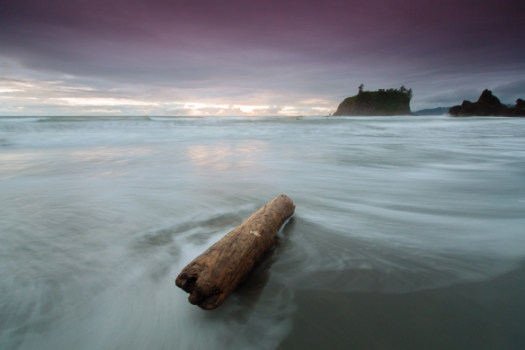
What actually went through my mind as I was reviewing photos from this evening shoot at Rialto Beach was ‘I should have kept shooting’. In my defense the circumstances were challenging. The tide was doing odd things. It would recede and seem like it was going out, but then the next wave would come 2 or 3 feet higher up the beach than it had for the last five minutes. I was getting caught out by this every time and I was getting wet. So what I had was a set of images where the log rolled and was blurred, the tripod moved as it sank in the sand and on and on. It wasn’t until I got to the last image in the set that I had the one at the top of the page. In hind sight I should have stuck with it at least a little while longer. I could have taken my shoes off and rolled up my pants, or just embraced getting wet and dealt with it. Whatever I did I should have kept going.

A lesson for next time – commit to getting the image and stay with it.

Friday Inspiration: David Hall

Hall Fish

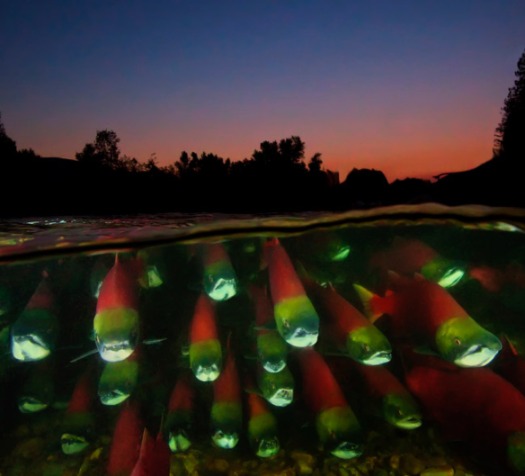
In looking to see how other people have documented the Pacific Northwest I came across the book ‘Beneath Cold Seas‘ by photographer David Hall. While this is not the kind of photography I usually gravitate towards the photographs are undeniably compelling. I particularly like the juxtaposition of what’s going on below and above the surface as in the photograph of sockeye salmon above. Photographer Hall completed this body of work over a period of 16 trips to British Columbia between 1995 and 2010. I can only imagine how technically challenging this type of photography must be, managing both scuba gear and bulky camera equipment that’s made even bulkier by the underwater housings that you need to protect them. Then of course the water’s cold.

What is striking to me is how colorful much of the marine life is. Something I thought that you had to go to the tropics to see. To see more of David’s work visit his website – www.seaphotos.com and watch the gallery of his images below.

Look Behind You!

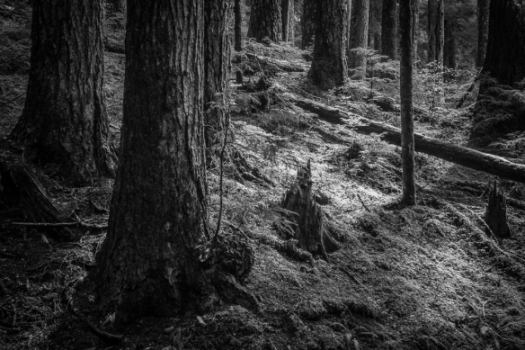
Nixon_130517_5332Look behind you is of course part of the standard audience participation in pantomime, a particularly English form of entertainment. It is also good advice to photographers because often good things are happening all around us and taking a moment to look up, down and all around can result in you spotting other good opportunities.

That was certainly the case for the photograph above. I was on the way to the Sol Duc falls and had stopped to photograph the mossy rocks that are part way to the falls. In taking a moment to look behind me I noticed that there was interesting light in the trees behind me. I shifted my attention to the trees for a little while and was fortunate enough to get a shot that, with the application of my standard B&W preset, resulted in the image at the top of the page.

So far I like this more than my mossy rock pictures and it just goes to show that looking behind you can pay off if you make a habit of it.

Shooting in the Rain

Nixon_130518_6497

People always tell me that interesting photographs are made when there’s interesting weather. I’m not sure that rain falls into the ‘interesting’ category but we’ve certainly had a lot of the stuff in the last couple of weeks regardless of which coast you’re on. Going to a location to photograph and getting rain the whole time you’re there leaves you with some choices but essentially, wait for the rain to stop or get out in the stuff and make the most of it.

I’ve definitely been one to wait for the rain to stop, particularly when it’s cold. Who needs to be wet and cold? For shooting in forests in the spring, overcast weather, perhaps a little drizzly, is ideal. But that also means you have to deal with how to prevent your gear from getting too wet. Part of my reluctance to photographing in the rain is that, since electronics and water do not mix, it just doesn’t make sense. Now I know that many DSLR cameras have some degree of ‘weather-proofing’, and generally the higher up in the range the better the weather proofing but nothing is ideal. Art Wolfe tells an amusing story of how he encouraged a group of his workshop students using Canon 5Dmkii cameras to keep shooting even though it was raining and all their cameras stopped working while his 1D kept going.

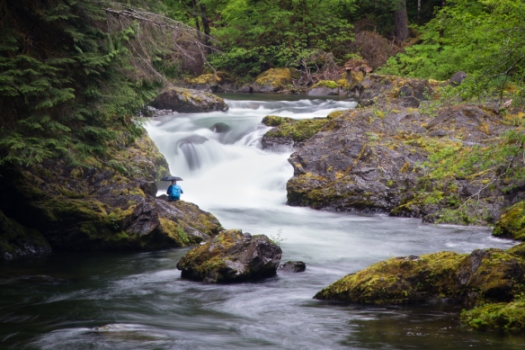
So you’re committed to shooting in all weathers what to do? You could of course use an umbrella like the photographer in the image above. The classic approach that many workshop instructors will advise is to use a hand towel placed on top of your gear. It absorbs the rain and you can wipe your stuff down too. It seems to work quite well and hand towels are readily available, especially if you’re staying in a hotel! You could perhaps compliment this with one of the disposable shower caps that you can often find in hotel rooms which would cover up the back of the camera.

An alternate to this approach is the use of rain covers. There are an number of such proprietary covers that fit every budget. I have an aquatech basic cover, shown below. The one odd thing about this rain cover is that it also requires a special eyepiece that’s specific for your camera. The eyepiece is neat, large and spongy, perfect for someone like me who wears glasses and so I keep it on the camera full time. It’s a bit of a wrestle to get the cover on but it works great.

2013-05-24 13.50.55

My friend Jen showed me how to improvise a serviceable rain cover from a couple of items you can find in the produce isle of the local grocery store. Check it out in the image below.

Nixon_130518_0304

To make this you need one of the plastic bags that grocery stores provide for loose vegetables and a sturdy rubber band. I’m told that the rubber bands that hold bundles of asparagus together are ideal, although I like the ones that hold Andy Boy brand broccoli together. Then all you need to do is put the bag over the camera with the open end towards the camera body. Use the rubber band to hold the bag in place around the lens and then once the bag is firmly in place tear out the bottom so that the lens has an unobstructed view. I know many people would advise against it but I have skylight filters on all of my lenses and so ‘tearing the bottom out of the bag’ is really a matter of running my finger nail around the groove between the filter and the lens which is generally enough to neatly tear the bag. For those old enough to remember CDs, I used to do something similar to open the CD package – run my finger along the groove that the hinge of the case between the top and bottom parts. I must admit that this improvised cover works just as well as my aquatech cover. Something to consider if your caught out.
The Path Home

Nixon_130518_6502

Home again after what seems like quite a while in the Pacific Northwest. I’m still digesting what I saw and learned while I was out there, so be prepared for Pacific Northwest related posts for at least the next week or so. Just for the record my path home was car, boat, car, plane, car. Not tortuous, but it did involve a Viking Festival, which was a surprise.

Better Packing

I’m on the road this week for the first time in a while. There were a few back to back years where I clocked in excess of 100K miles but I haven’t done that in a while. Those years did teach me something about packing for business trips – pack as little as possible so you can carry your bag on, bring a minipower strip and have back-ups for important data and computer gear. All the obvious stuff. What people can’t teach you, and you won’t find in a book, are the things that are important to you. The small things that will make life on the road tolerable.

I have yet to develop a system that I’m happy with when it comes to packing for a photography trip. This is especially true since most of my photography takes place locally, or at least within a days drive, which means I can just put all and everything into the car without having to think to hard. When faced with a technical question I always start with Moose Peterson. Check out the videos below for comments from Moose on packing for travel.

and John Paul Caponigro on the Art of Packing and in the video below the Art of Travel

Stuck on Earth – Finding Places to Photograph

Ratcliff The Round Rocks

The above photo is one of Trey Ratcliff’s photos of the famous New Zealand Moeraki boulders, check out his post that goes along with the photo here.

A visit to the Moeraki boulders is on my list of places to visit and I’ve been toying with the idea of an extended visit to New Zealand to photograph the boulders and all things New Zealand. My biggest fear about any trip is that I’ll not get ‘the shot’ and will have wasted my time which generally ends up with my doing a mountain of research before I go.

I’ve written about ‘virtual scouting‘ before and I continue to use this method while looking for additional tools that would be useful. One tool that I’ve been playing with recently is Trey Ratcliff’s iPad app Stuck on Earth. It seems to be a cross between Flickr and Google Earth. You can use the app to navigate to pretty much any interesting place on the planet and see what other photographers have achieved. I can’t wait for it to be available in other formats.

Playing Around with Presets

Nixon_130208_0409-8

Rare are the days when the photograph that pops up in lightroom is close to what I had imagined it should look like and a few tweaks and I’m done. More common are the times where I have some playing to do in lightroom and then photoshop but I know where I’m heading and then there are those images that I just wonder what I was thinking. Believe it or not, the image above started out in this last category.

The image out of the camera is shown below.

Nixon_130208_0409

After a few moments of not really knowing what to do with it I started clicking through the presets built into the develop module. I haven’t been a big fan of presets preferring to know exactly what slider I was changing and why. Clicking around though it quickly became apparent that this photo should be black and white. The five built in presets gave the following ‘looks’.

Nixon_130208_0409-2 Nixon_130208_0409-3
Look 1 Look 2
Nixon_130208_0409-4 Nixon_130208_0409-5
Look 3 Look 4
Nixon_130208_0409-6
Look 5

I liked looks 2 and 3, with not a lot to choose between them for me. I chose version 3 as a starting point and made it a little darker and a little grainer. The image below was the result.

Nixon_130208_0409-7

A little bit more clean up and I was done. I must admit that this experience changed my outlook on presets. They’re great starting points, to be pushed further or dialed back, and invaluable to get a quick sense of what different processing could do to your image. Even better if you make your own and share with friends.

Nixon_130208_0409-8

Gone Fishing

Nixon_110813_4-Edit

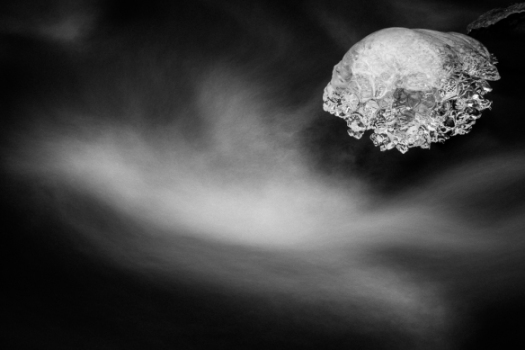
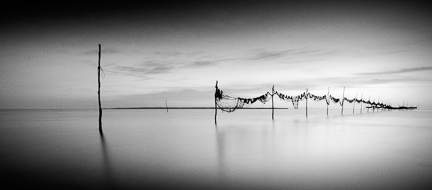
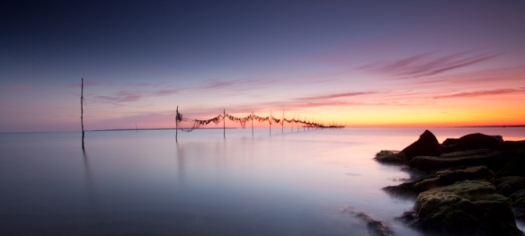
I’m continuing to play with black and white conversions of photos from my archive. The above photo is the latest image that I’ve played with and is one that was originally posted here and is also below. Check out the original and the new version – I’d be interested in your comments.

Nixon_110813_3368